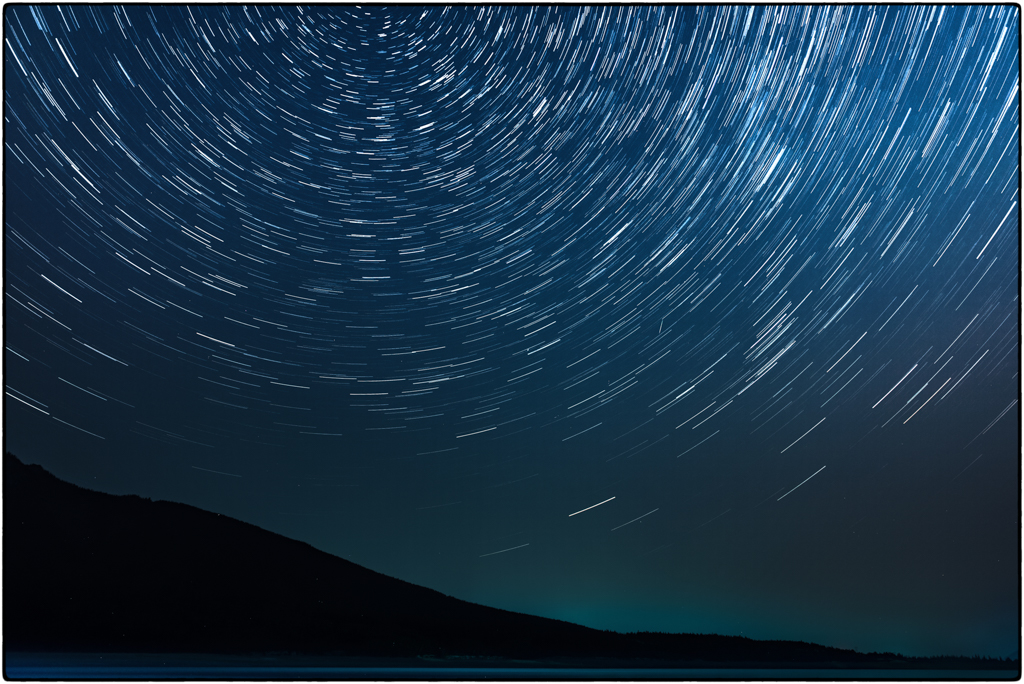
My challenge topic this week was Star Trails. It was my first time trying a star stacking technique to create star trails, and I thought it created a cool effect! Star stacking involves taking many photos with the same composition and camera settings over a long period of time and then stacking them together using computer software. Since the stars move slowly over that time period, each photo will show the stars in a slightly different orientation in the sky. The software will then stack them together, and you will see the concentric pathway the stars have been travelling around the North Star (Polaris).
Here is one of my star trail photos from a night photography session in Kananaskis:
Here are a few tips from this week’s photo shoot:
Settings
My camera settings for this photo were as follows:
- aperture: f/3.2
- shutter speed: 25 seconds
- ISO: 800
See my blog post on Astrophotography for more information on camera settings. Note: smoke from a local forest fire reflected light in the sky that evening, overall brightening the sky and allowing for a lower ISO than what is typically used for astrophotography.
I also used the built in intervalometer in my camera so that it would continue to take photos over a 30-40 minute time period (or longer if you prefer). You can also buy intervalometers if your camera doesn’t have an internal one. The intervalometer allows you to set the camera to take photos at a certain interval (e.g. every 30 seconds or another time period). This way the photos are occurring at a consistent interval without requiring you to push the shutter button for every photo. And you can sit back and enjoy the night sky! Note: you will want to try several test shots before you start the intervalometer to ensure your focus, composition and exposure are adequate.
Gear
Check out my other post on Astrophotography for tips on what gear to bring.
Editing
I started by editing one of my raw photos from a 40-minute series in Lightroom. I enhanced the photos by bringing out the highlights, the whites and the clarity. I also used the de-haze function to try to reduce some of the smoke from the local forest fire (this brought out more of the stars). The white balance was also adjusted. Lastly, I reduced the noise in the photo using the noise reduction sliders.
Once I was happy with the edits to my single photo, I copied all of the settings from this photo and pasted them on another 49 photos in the set. This saved me a lot of time editing the other photos and created a consistent look between the photos.
I then exported the 50 photos as jpegs into a separate folder. Finally, I was ready to start stacking stars!
I used a free star stacking software called StarStax. It was quite easy to use. You can read more about how to use it on the designer’s website. The program only seemed to work with jpegs, so that is why I edited all of the raw photos first in Lightroom and then imported them into StarStax. The software stacked the 50 photos together and voila, you have star trails!
Have fun with star trails!

leave a comment