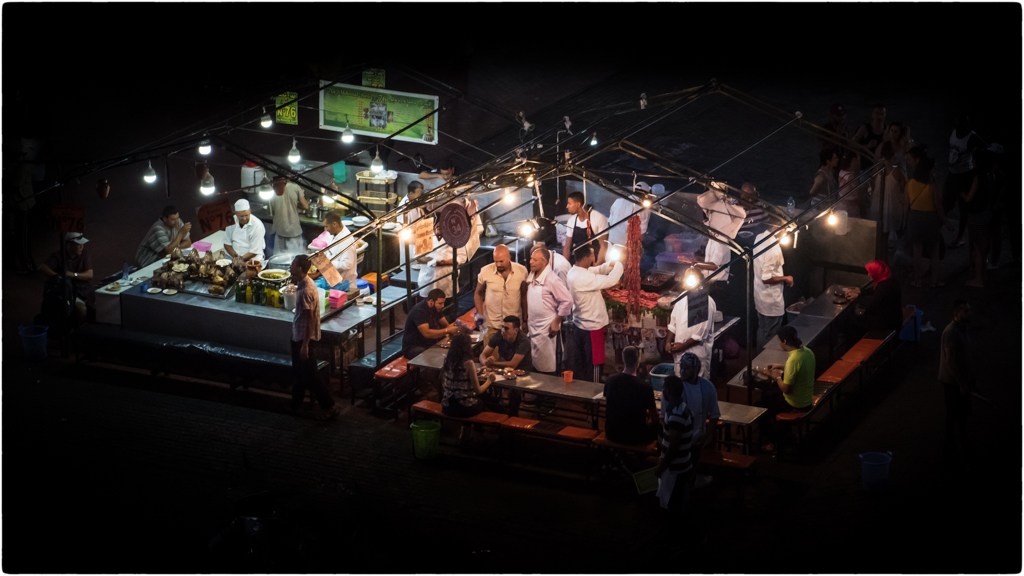
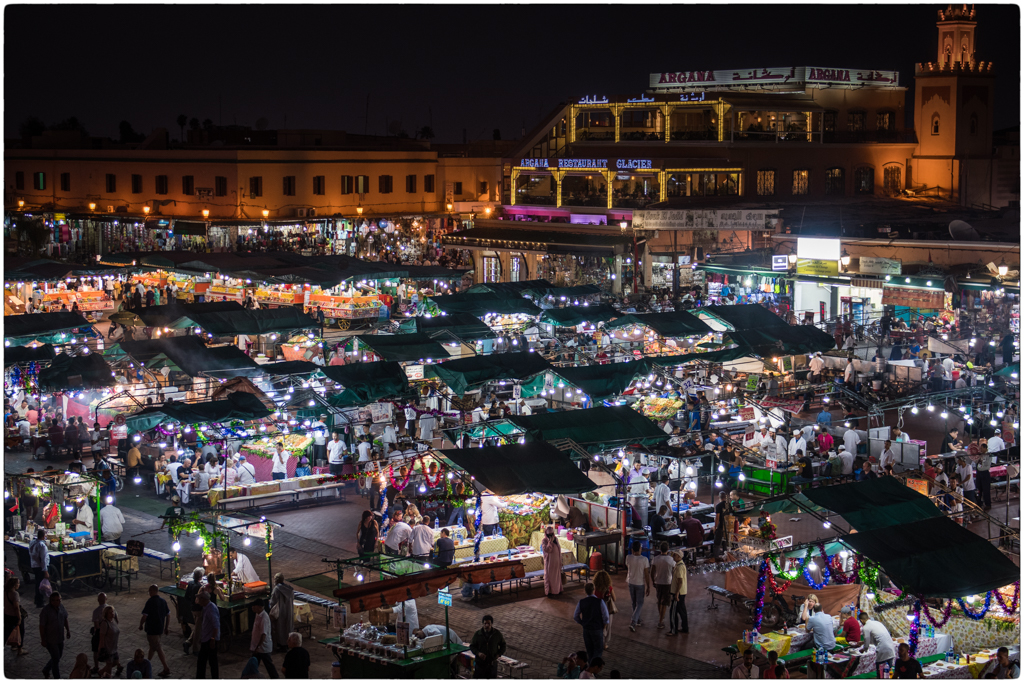
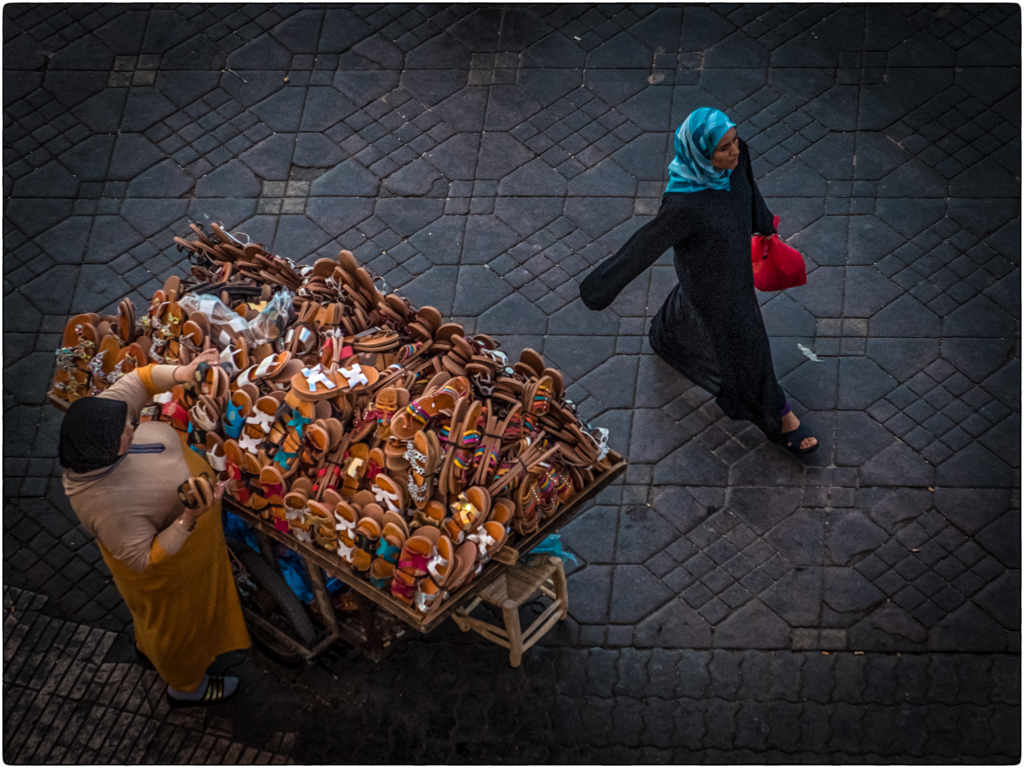
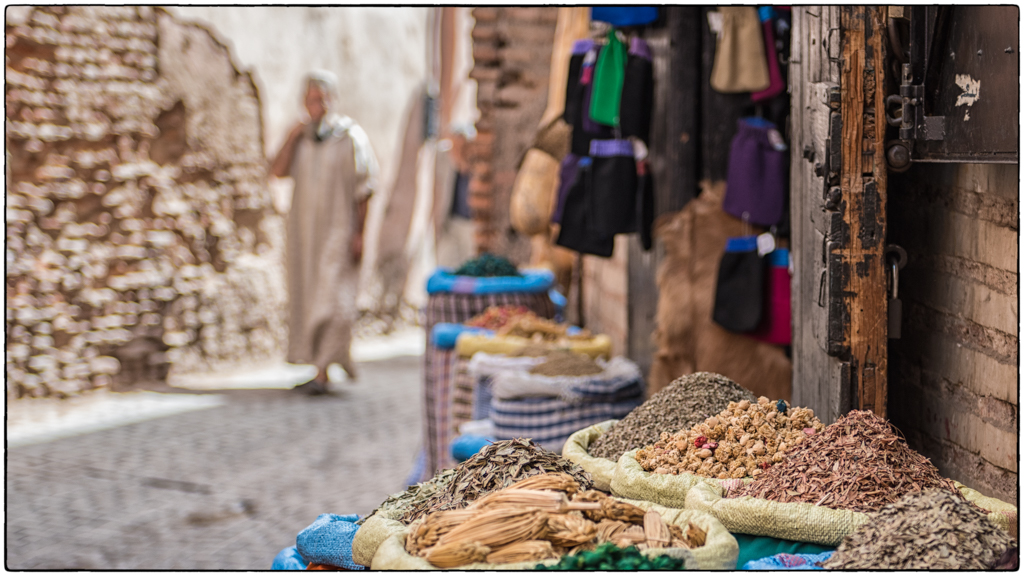
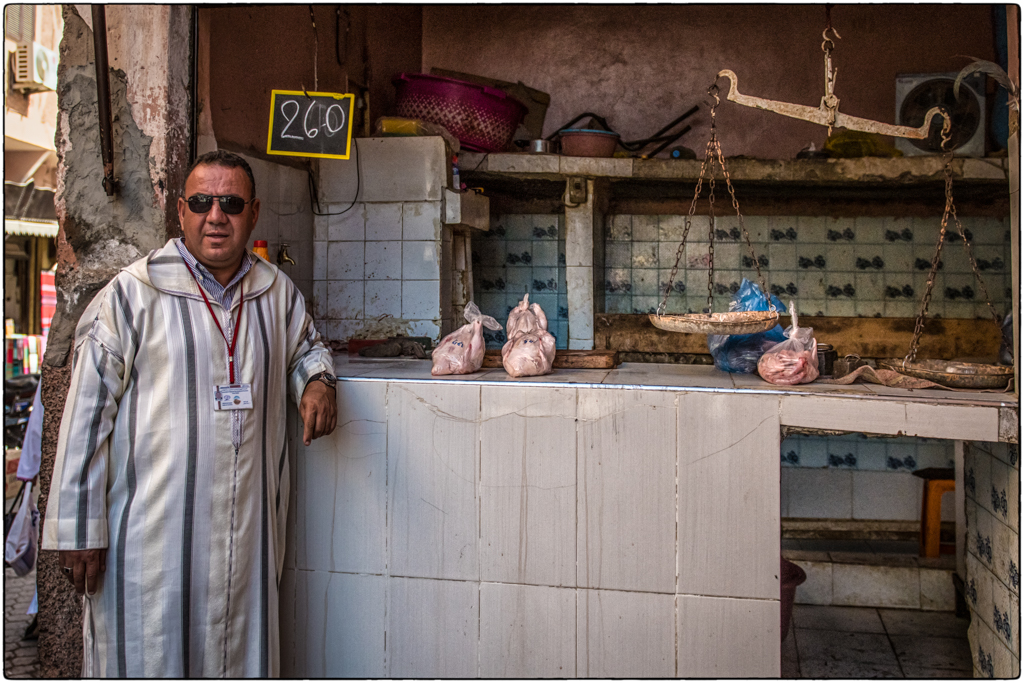
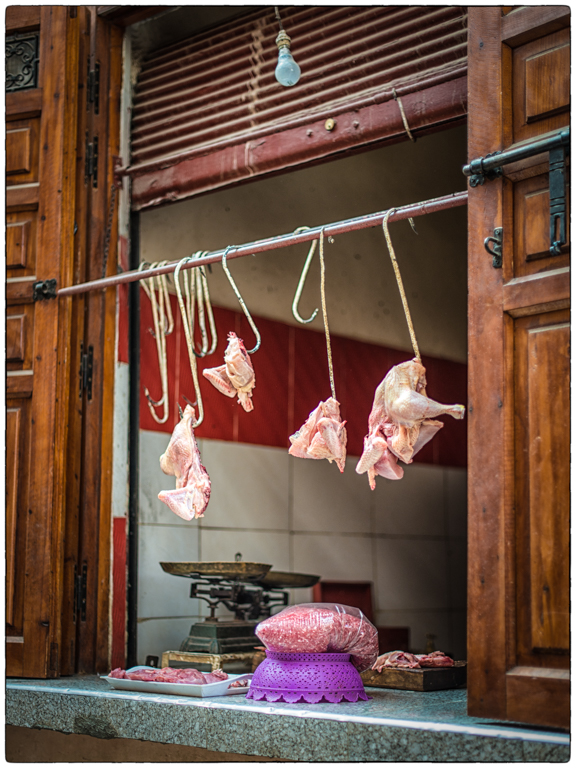
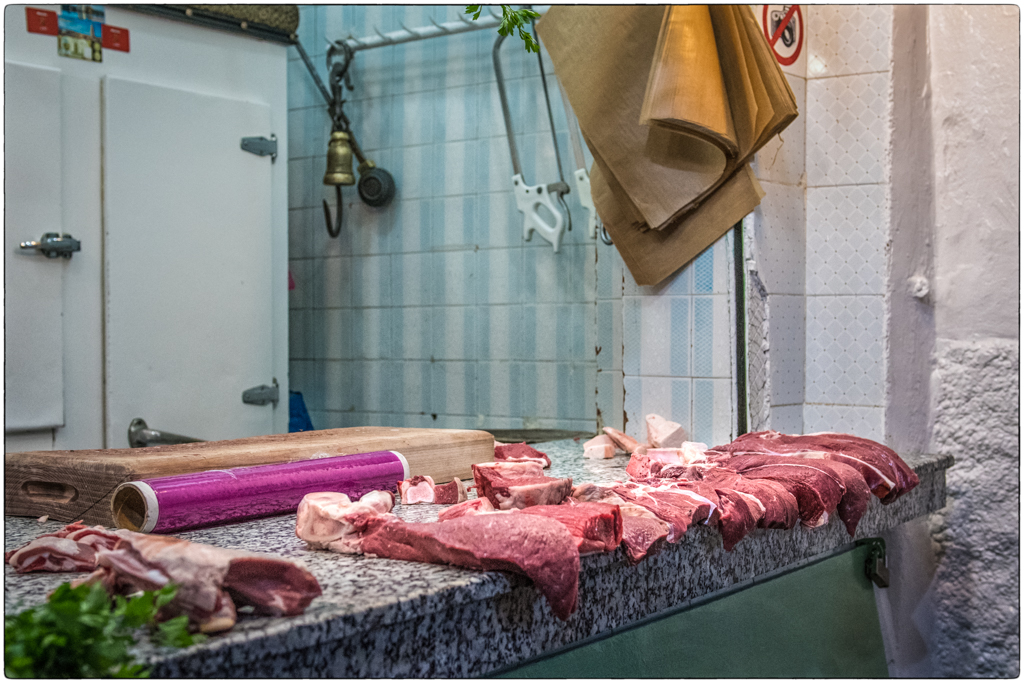
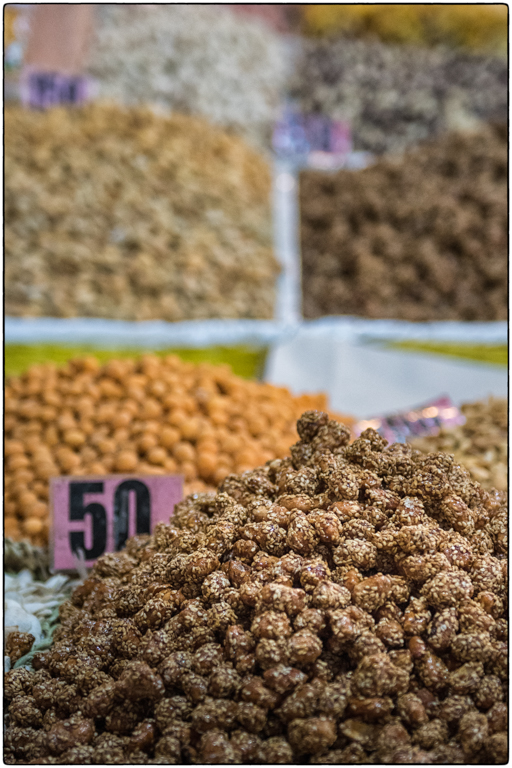
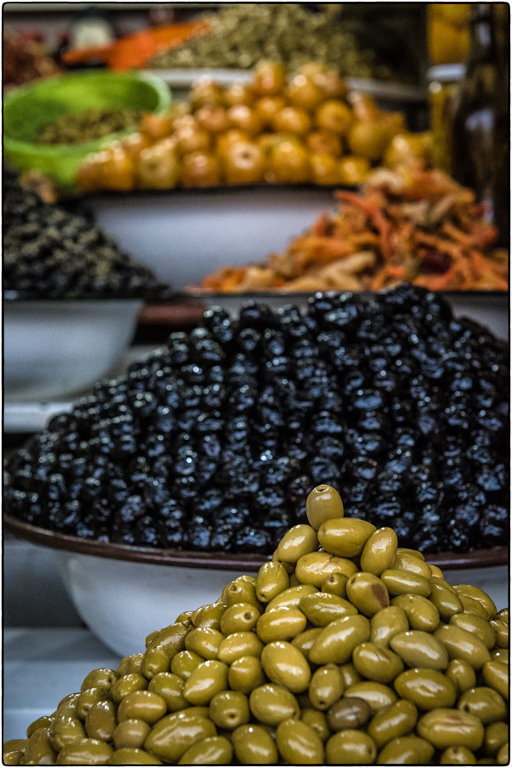
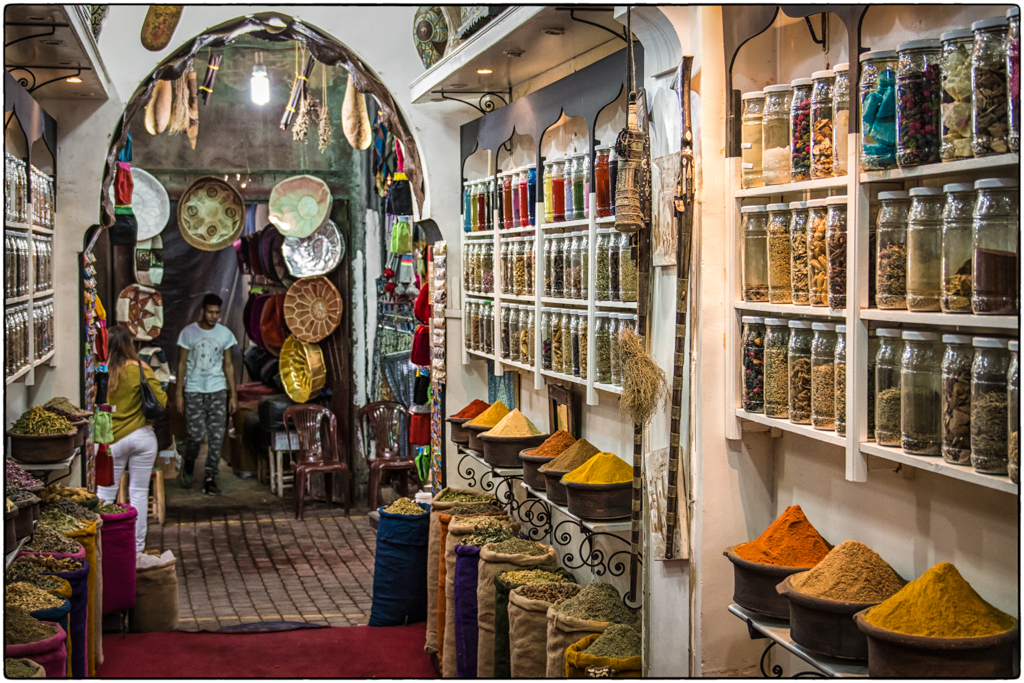
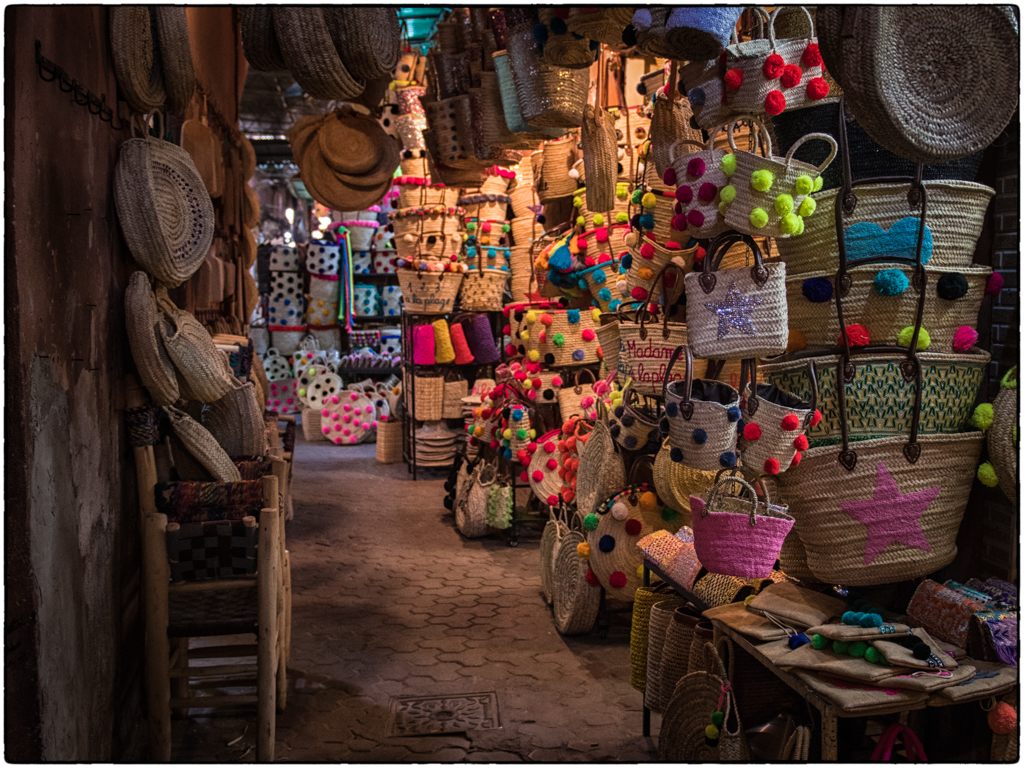
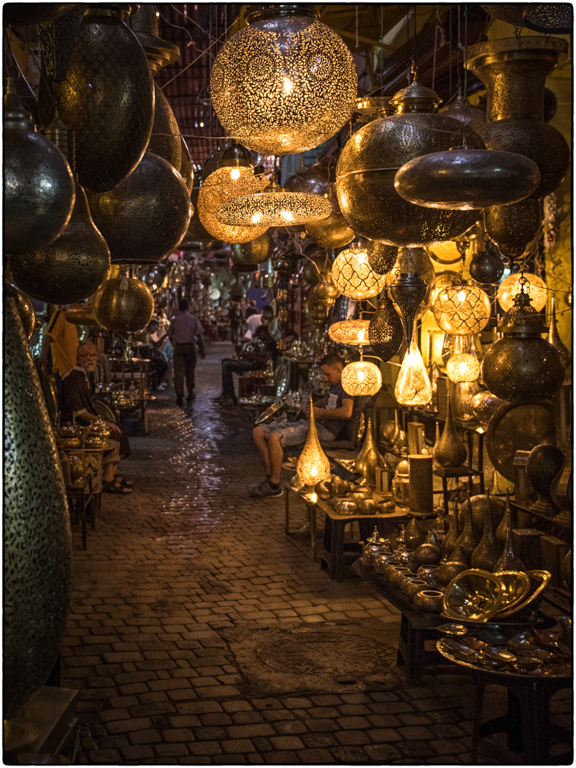
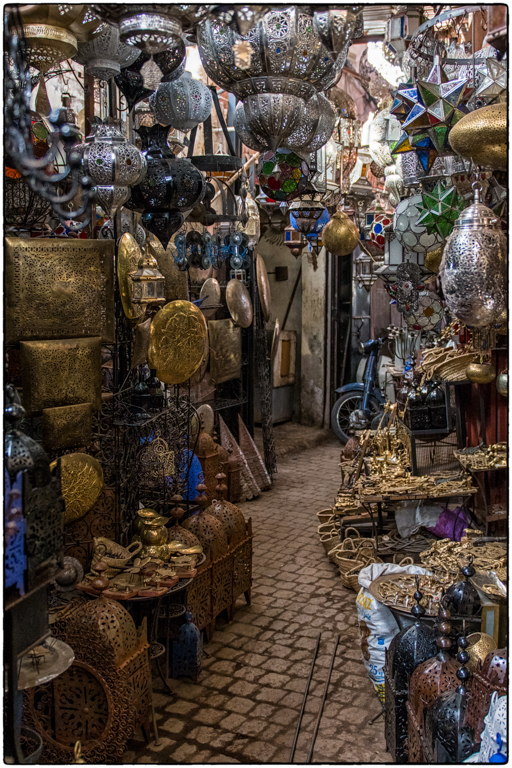
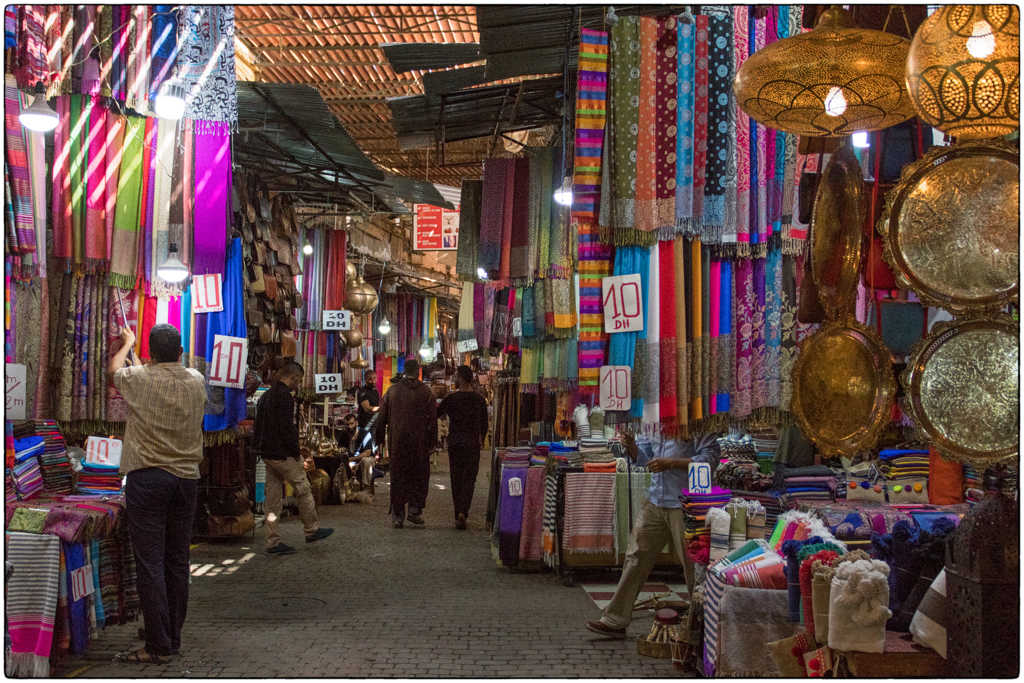
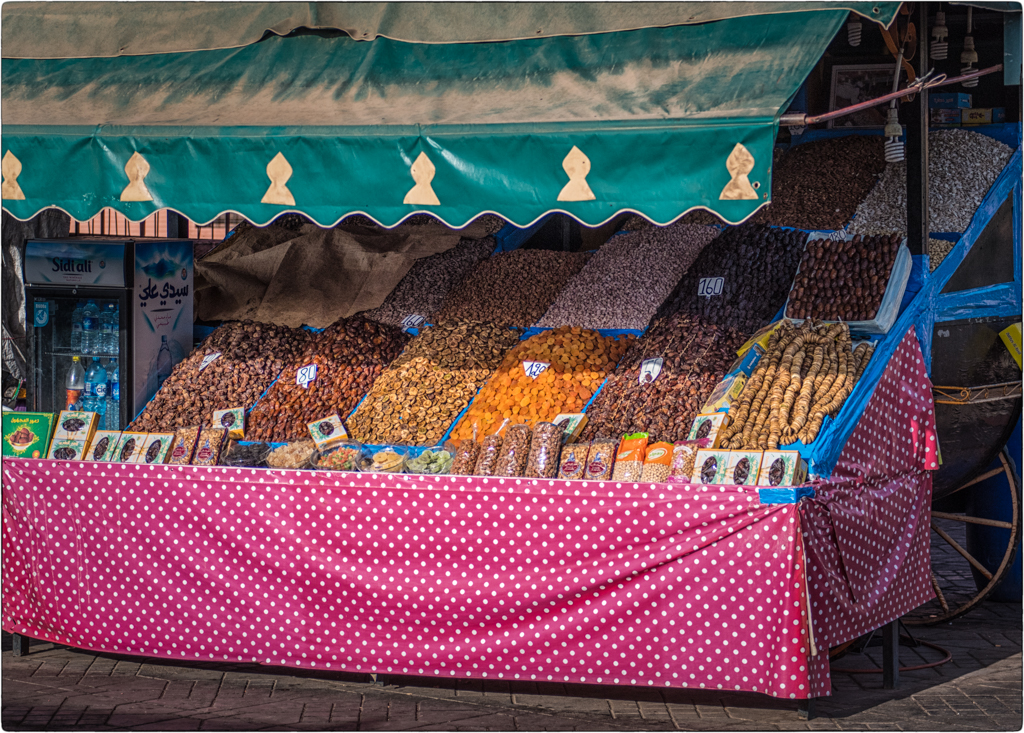
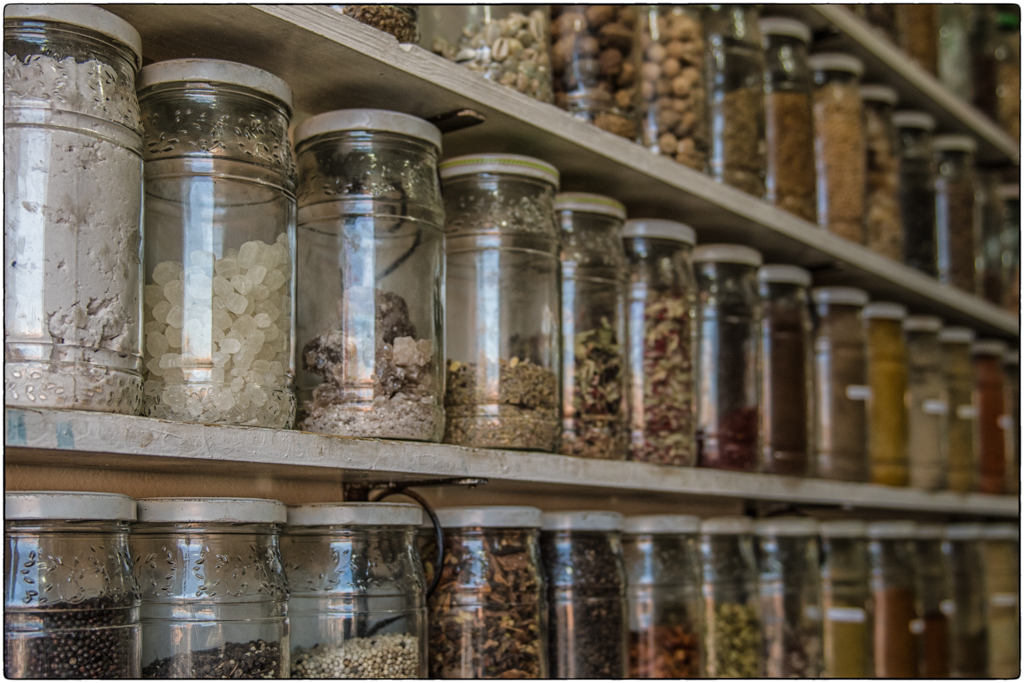
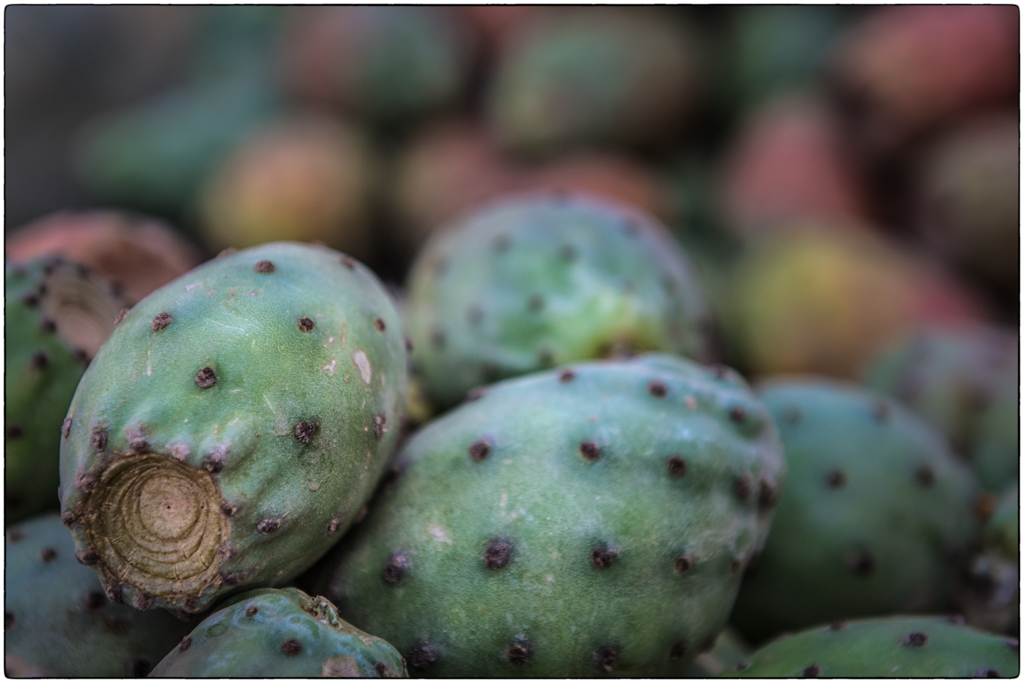
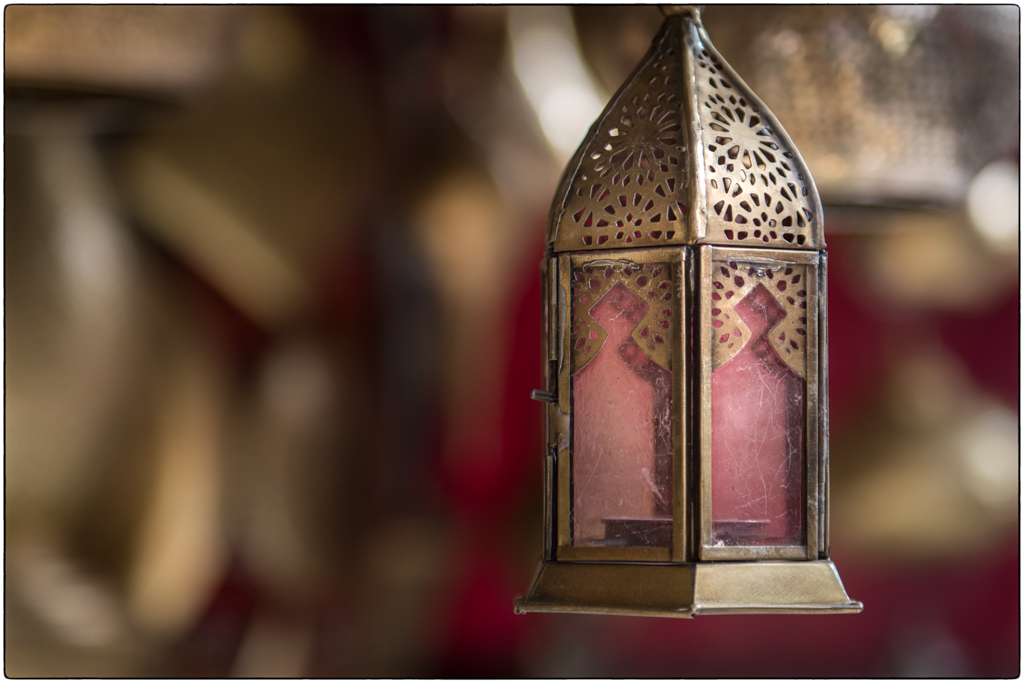
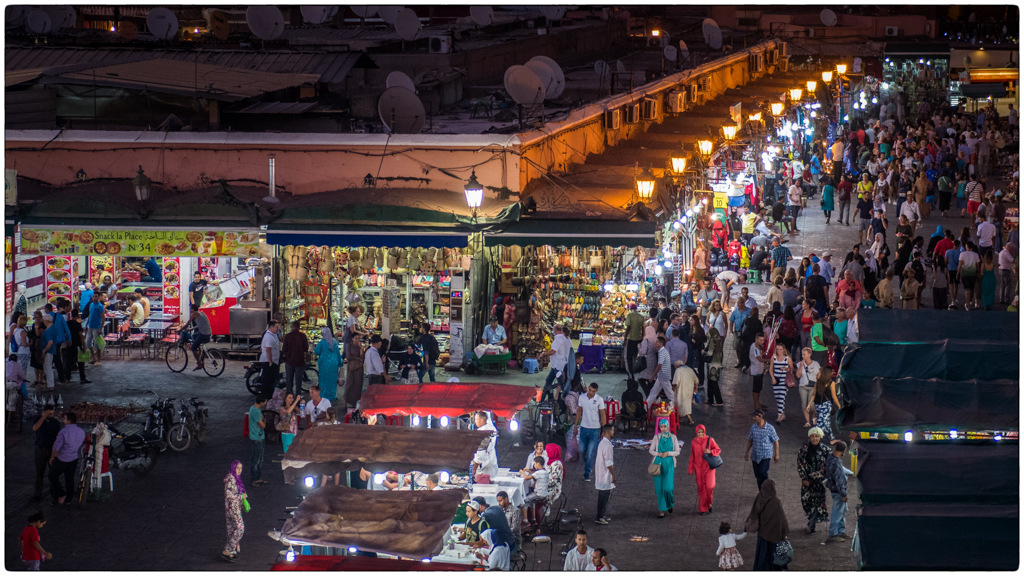
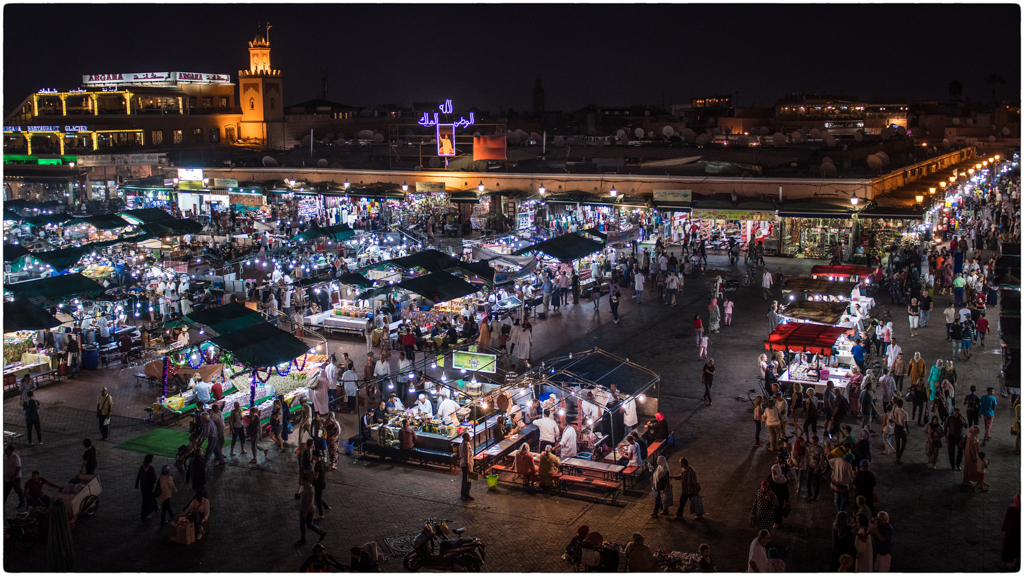
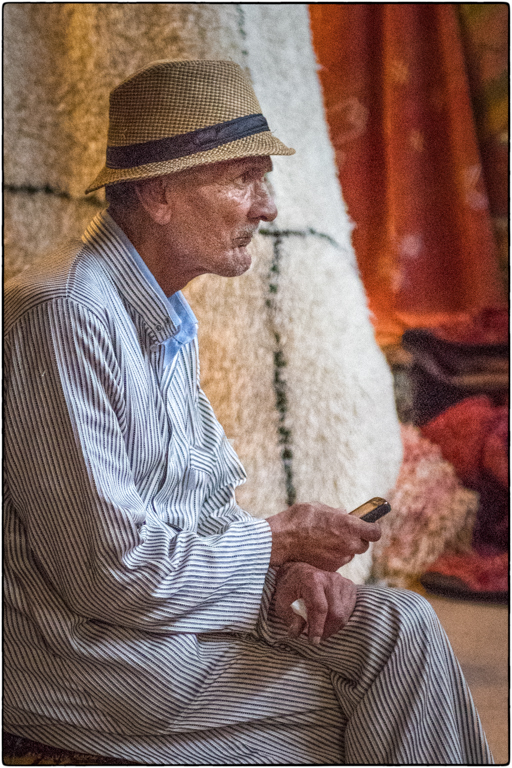
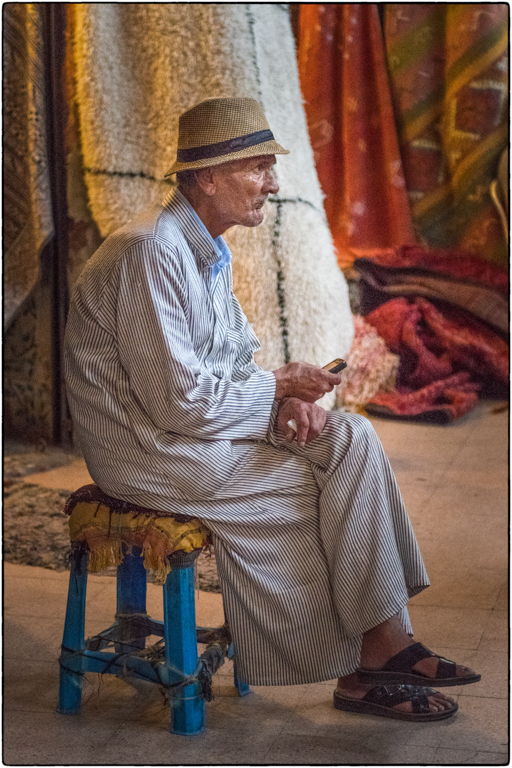
This week I decided to go with the topic of Markets in Marrakech since I have many photos of the Jemma el Fna Square and various souks in Marrakech. Here are some of my favourites:
Tips for Taking Photos at Night:
One of the most interesting places to visit in Marrakech is the renowned Jemaa el Fna night market. This market is at its busiest once the sun goes down at night. The market vendors can be aggressive and confrontational if you take their photo without paying them (and they ask for a lot of money), so one of the best places to take photos of the market is from a terrace at one of the many cafes surrounding the square. You don’t have to buy much – just a bottle of water is even enough to grant you access to the terrace. It also gives you a fantastic bird’s eye view of the entire market!
Shooting outdoors at night can be challenging since there is generally less light entering your camera. You can often get photos which are too dark, too noisy, or are blurred if you do not expose your shot properly. Camera exposure (whether your photo is too dark, too bright, or just right), is affected by 3 main things: aperture, shutter speed, and ISO.
Aperture
Aperture is the size of the hole through which light enters your camera. A wider aperture has a larger hole that lets in more light and a smaller aperture lets in less light. This hole can vary in size depending on the aperture setting on your camera. If you are using manual mode or the aperture priority setting on your camera, you can control the aperture setting yourself. In general, I try to go with a wide aperture (e.g. f/2.8) at night time if I do not have a tripod with me. If I have a tripod and would like to create starbursts on street lights, I typically go with a smaller aperture (e.g. f/16-f/32).
Aperture can be a bit confusing for beginners. I find the easiest way to look at the aperture numbers is to think of the numbers as fractions. For example, 1/2.8 is a larger number than 1/32, therefore f/2.8 has a wider aperture than f/32. For more info on aperture check out a great article by Photography Life.
Shutter Speed
You can think of shutter speed like a curtain on a window. If you hold the curtain open for a longer period of time, more light enters the room. It is the same with camera shutters. If they are open for a longer period of time, they will let more light into your camera. You can control the shutter speed on your camera by using the manual mode or shutter speed priority setting. If the shutter speed is too slow (e.g. 20 seconds), anything that is moving in your shot will either be a blur or not be seen at all. If you would like people to be ghostly blurs in your night shot, go with a longer shutter speed. If you would like people moving around the market to be in focus, then you will have to use a faster shutter speed (e.g. 1/80 or faster). I chose to go with a faster shutter speed in order to get the people in the market in focus.
Also, using a longer shutter speed can introduce unwanted blur in your photo as a result of camera shake. This means that your entire photo could be blurry if you are hand holding your camera with a long shutter speed. Even moving the camera a tiny bit while you are holding it can be enough to cause blurry photos. The best way around this is to use a tripod with a timer or remote so that you are not touching the camera at all. If you don’t have a tripod, try using something stationary such as a railing or a ledge to stabilize your camera. Since I didn’t have a tripod with me I used the railing on the cafe terrace to help stabilize my camera. This helped me get down to a shutter speed of 1/80 second with some of the photos.
ISO
Even using the widest aperture on your camera is often not enough to allow sufficient light into your camera if you are using a fast shutter speed at night. Your photo could still be too dark. In this case, you will need to increase your ISO so that your photo will be properly exposed. Your ISO setting influences how sensitive your camera sensor is to the light in your scene. If you use a high ISO, the camera sensor will be more sensitive to light and will allow the photo to be brighter than if you were to use a lower ISO with the same aperture and shutter speed. Why then wouldn’t you just increase your ISO as high as it can go? The answer: the higher the ISO, the more noise is introduced into the photograph. Noise is the grainy looking artifacts in your photo that you can see if the ISO is too high. I included a couple photos containing excessive noise below – you can see they have a lot of grain (especially the close-up view). You can click on the photos to enlarge them.
Fortunately, newer cameras these days can go higher with their ISO before you start to see noise in the photograph. You may want to experiment with how high you can go with your particular camera before the photo gets really noisy.
You can also remove noise using computer software, although this can impact the sharpness of the photo depending on how much noise you need to remove. I primarily use Lightroom to remove noise from photos but you can also use programs such as Photoshop, Topaz, Nik Software and others.
Ensuring your photos are properly exposed helps too. If your photo is underexposed (too dark), a lot of noise can be created when you brighten the photo with Lightroom or other software afterwards. I usually find that I have less noise with a properly exposed photo with a high ISO than I do with an underexposed photo with a lower ISO.
I hope you get a chance to play around with night photography. It’s a lot of fun!

leave a comment