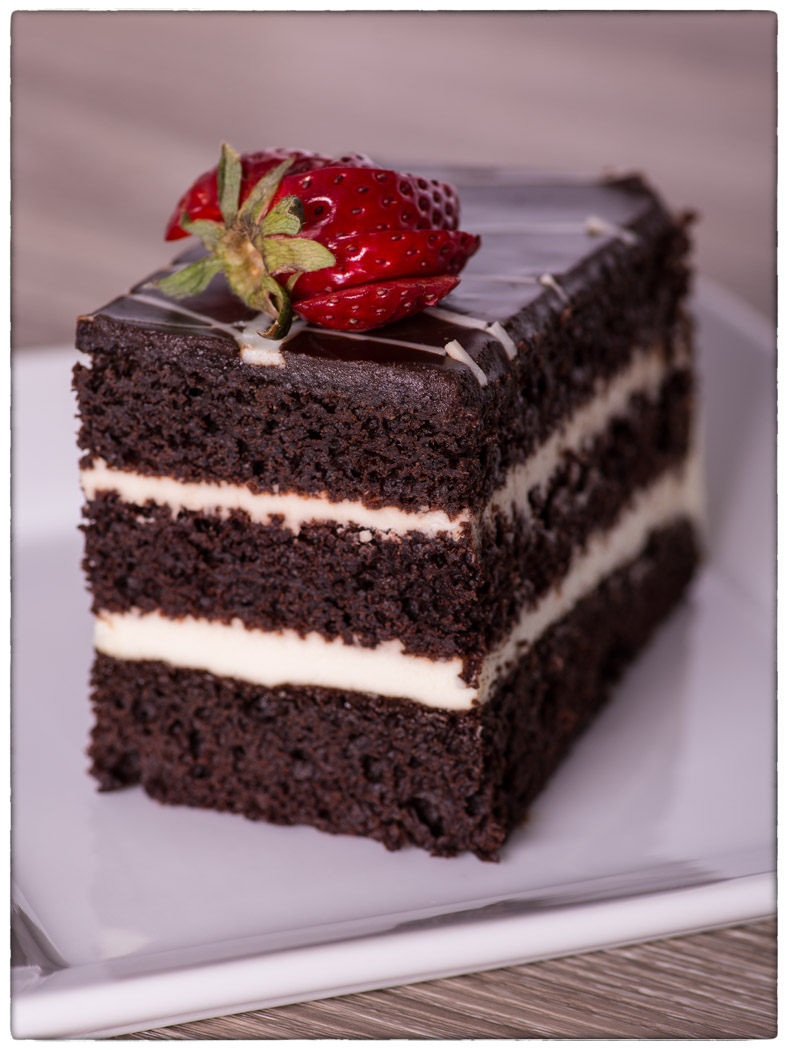
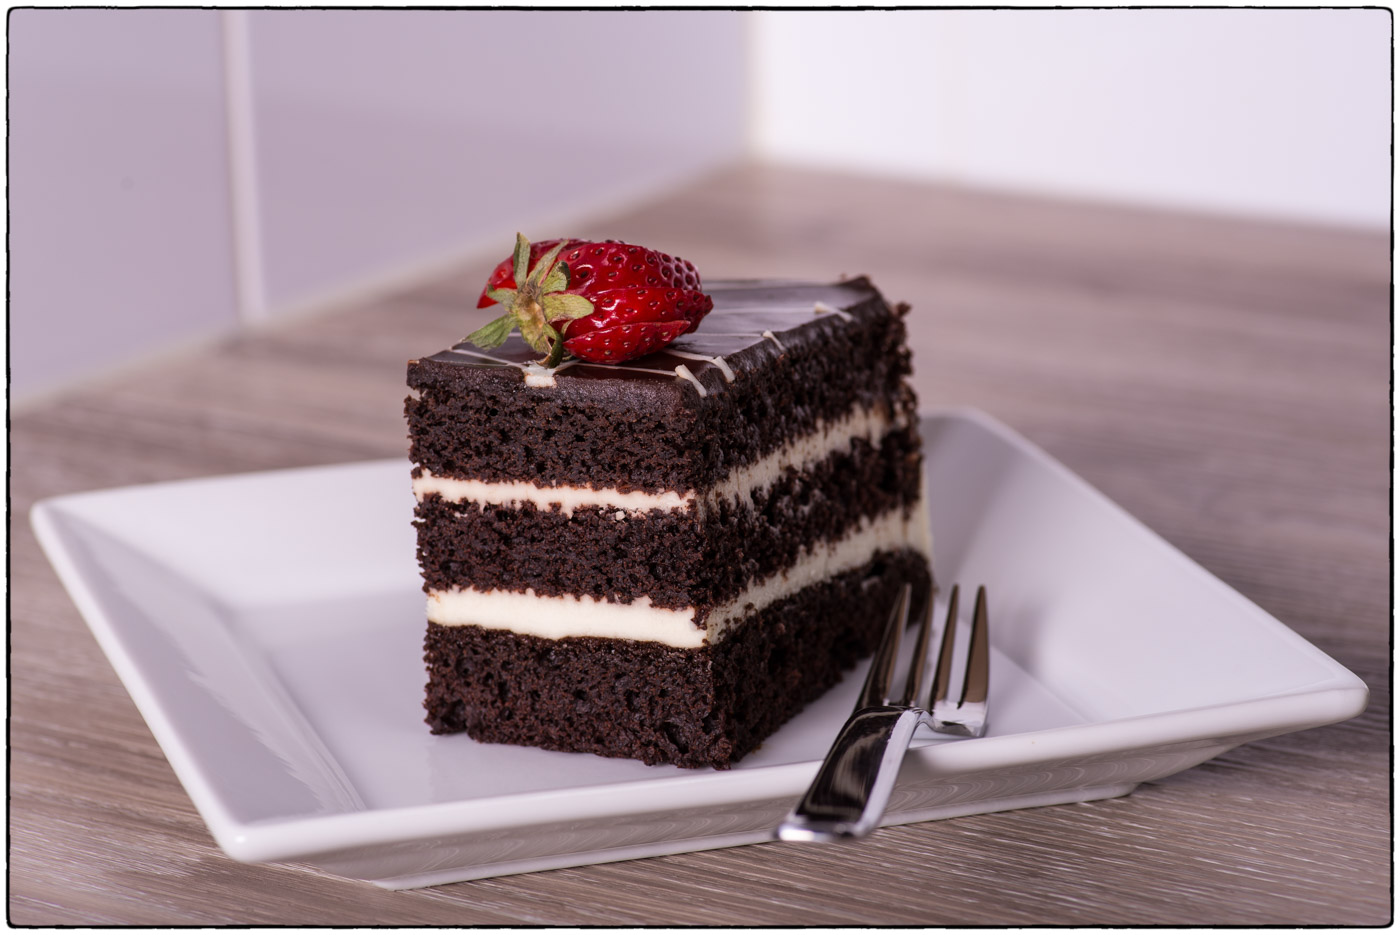
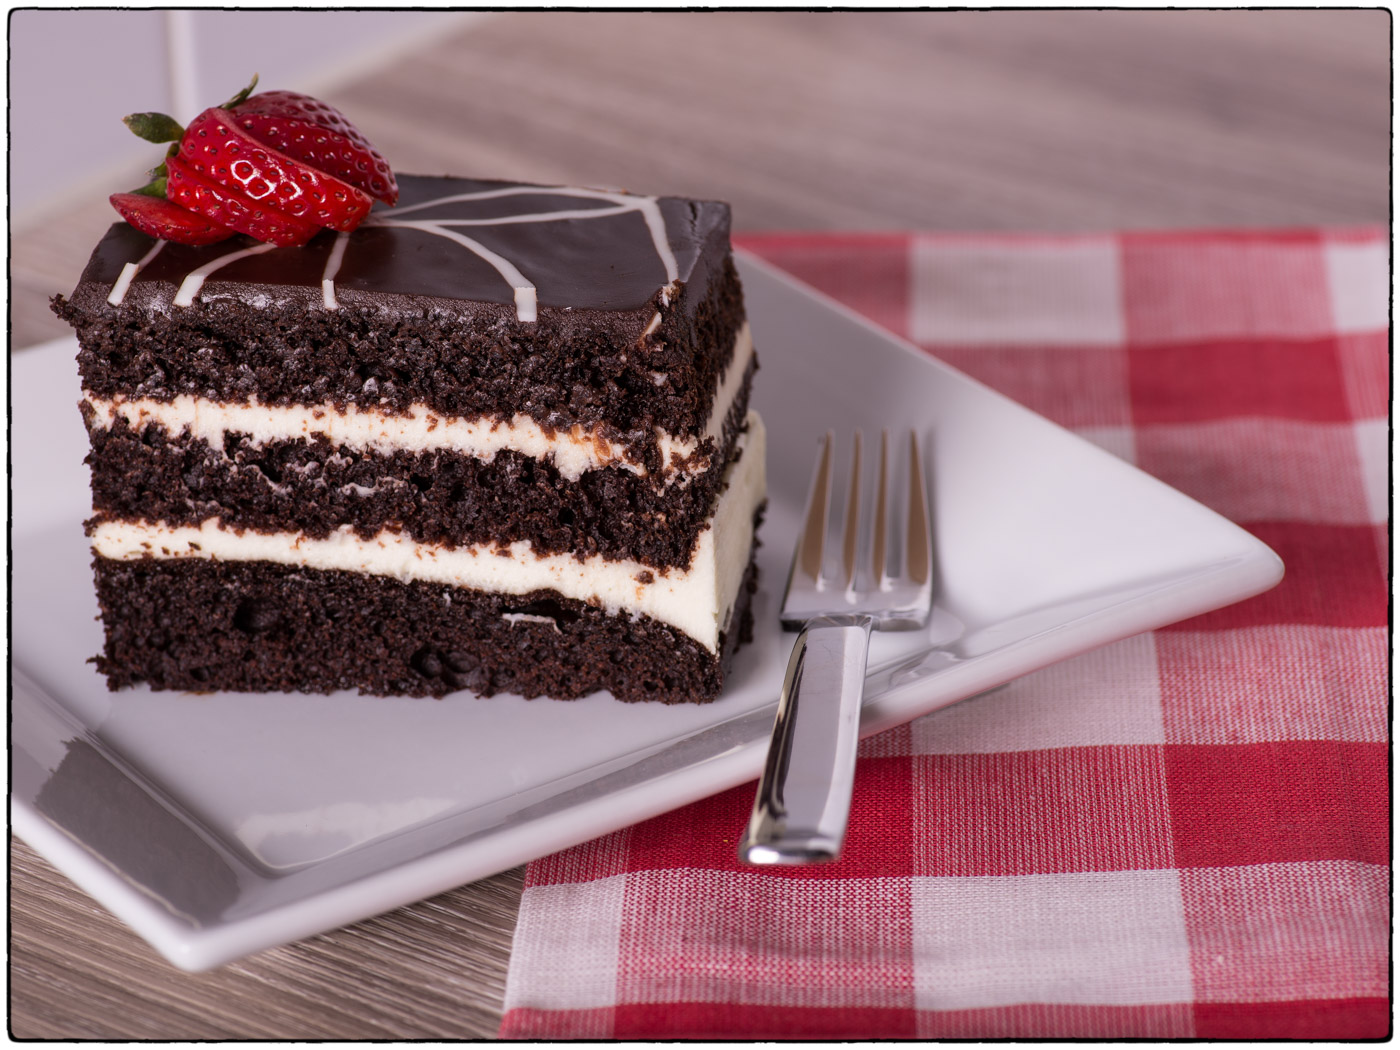
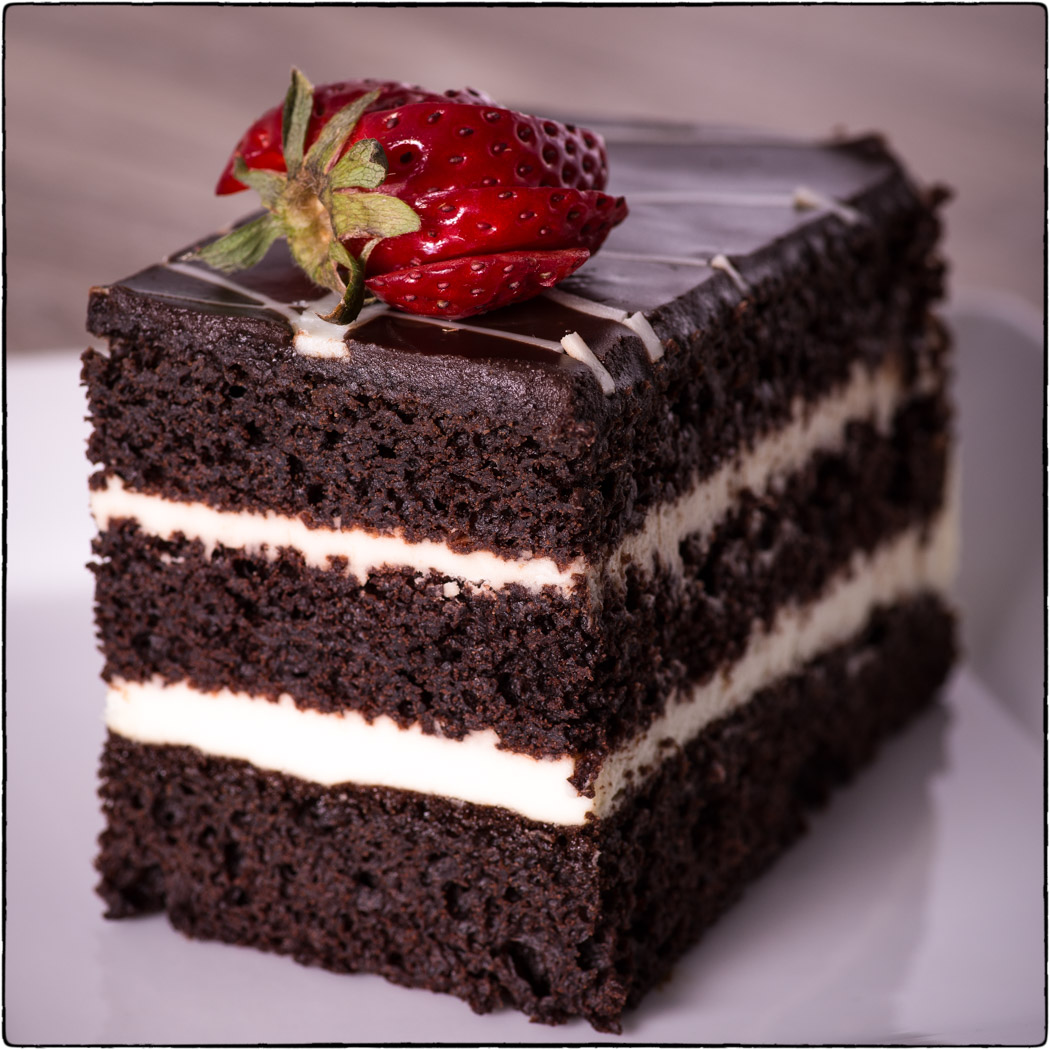
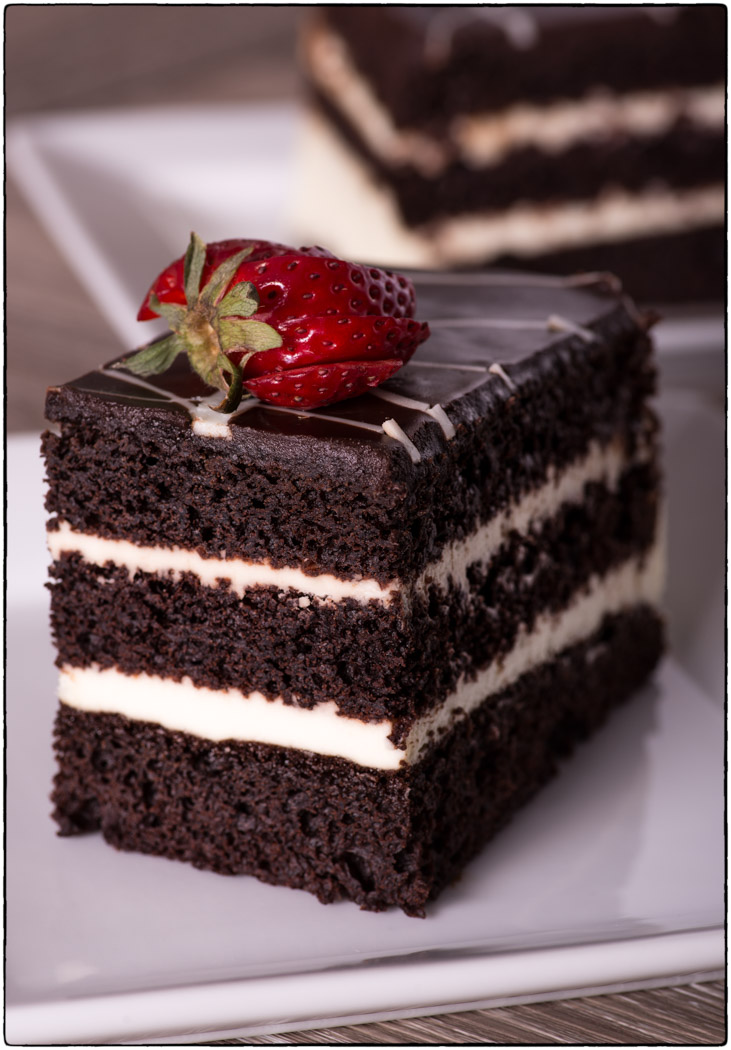
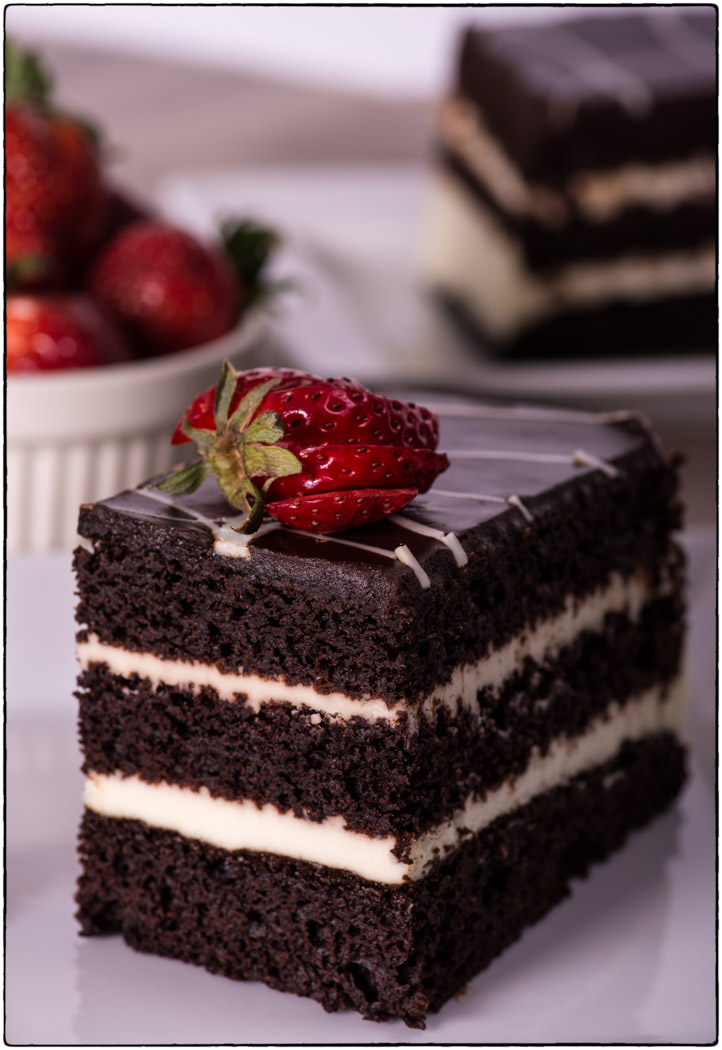
The challenge this week was Food. I took this topic from a list of challenge topics created photographer Denise Love from 2 Lil Owls Photography. I thought it would be a fun topic to try and a delicious one! Plus I have a weakness for chocolate cake, and thought I would indulge in some heavenly dessert photos 🙂 Here are this week’s photos:
I have included some tips and observations from this week’s photo shoot below. Haha, it occurred to me as I was writing this blog, and after I had put everything away and we ate all of the cake, that I really should have taken photos of my lighting set up! Next time I will take photos of the lighting set up for you. A picture is worth a thousand words after all…
Lighting
Proper lighting is essential for any type of photography, whether it’s still life, portraits, landscapes, or any other photography genre.
Daylight or off camera lighting can be used effectively to light food in your photograph. I find soft, diffuse daylight works well with food photography, and recommend setting up beside a nice big window if you are going to use daylight as your primary light source. You may need to try a couple of different windows in order to find the one with the best quality of light. You can also diffuse the light by installing a translucent material on the window. The downside to using daylight is that it can change quickly, depending on the clouds in the sky and the time of day. And you can’t work at night either…
These days I prefer using studio lights to daylight, since I can control the amount of light, angle of light, and quality of light more easily. Small off camera flash units and/or the larger strobe lights are great options. I ended up only using one strobe (with a rectangular soft box) and a reflector for these photos. Inexpensive, portable reflectors can be found on amazon.ca in a variety of different sizes. Mine is by Cowboy Studios and came with a stand, which comes in really handy at times. The reflector can be used to bounce some of the light from the strobe into other areas of the scene and can help reduce the depth of the shadows.
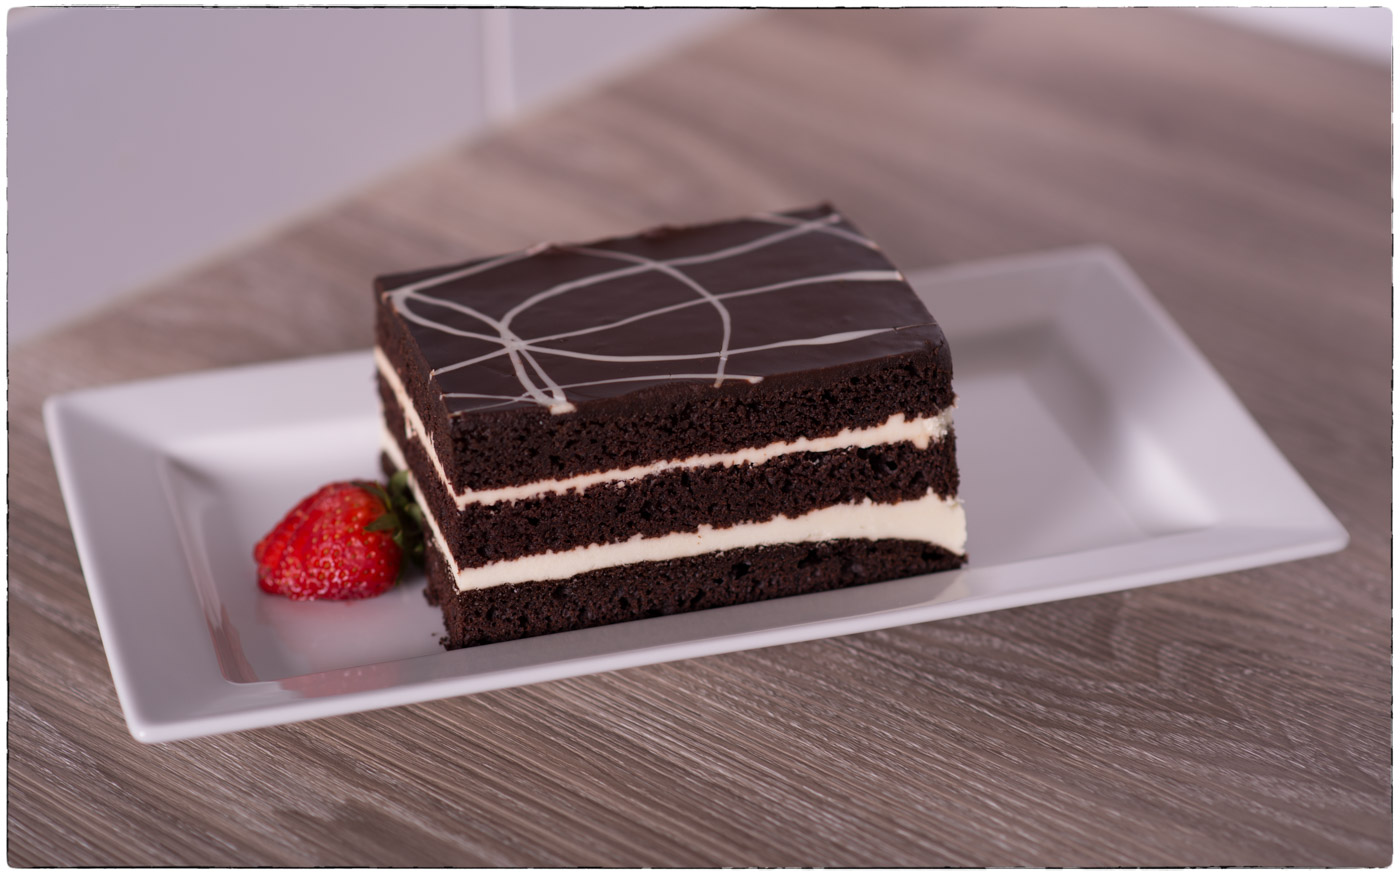
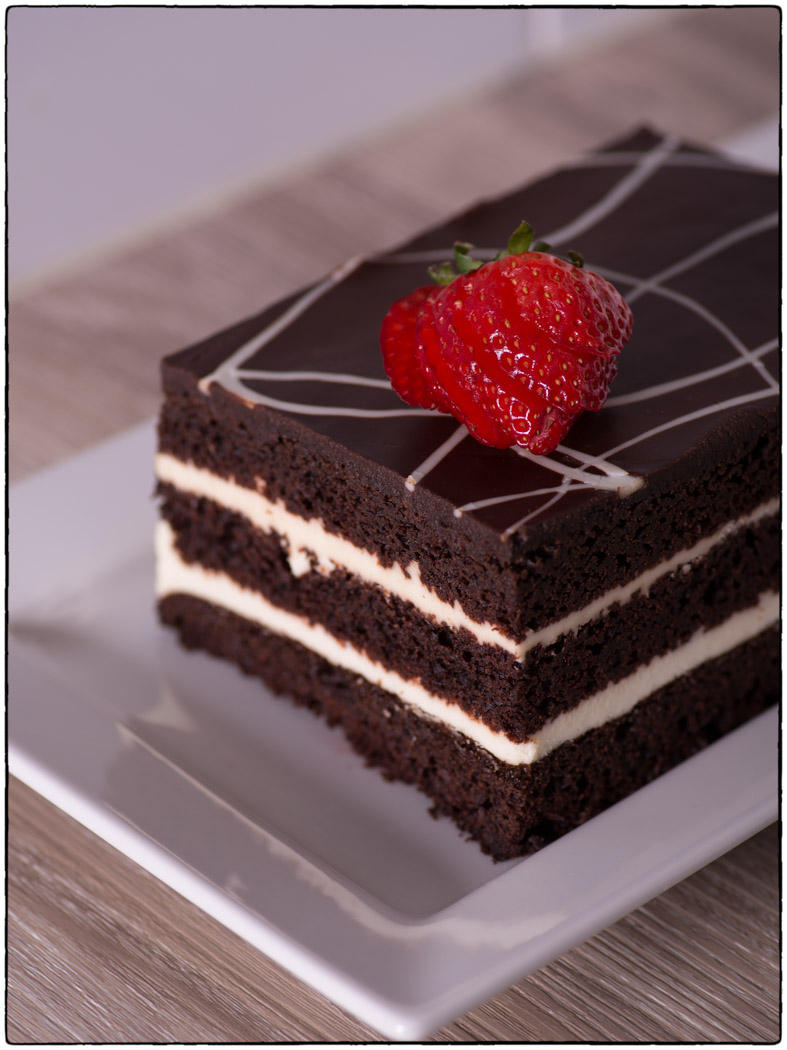
Try to get your lighting off of the camera – on camera lighting (like your pop up flash) can often be too harsh. Try positioning the lights at different angles to your subject. For example, the two photos below have almost the same composition, but are lit from different angles. In the first photo the cake is lit from the side (at about a 45 degree angle from the camera) while in the second photo the cake is backlit. I used a reflector in both photographs to bounce some of the light from strobe into the other side of the subject where there was a bit too much shadow. You do not want to remove the shadows entirely – they provide a 3D look to the food. Light can also enhance some of the food textures, such as the dimpled texture of a strawberry.
White Balance
Pay close attention to your white balance. A blue or orange/yellow cast could make the food look less edible and less appealing! If you’ve ever left the white balance on the tungsten setting when shooting outdoors in daylight, you would have noticed a blue tinge to your photos. Vice versa, if you use the daylight or shade setting when your subject is lit by tungsten lights, you will get an orange case to the photos. Note: if you shoot in RAW format instead of JPEG, you can always change your white balance later in editing software. But I prefer taking photos to editing, and try to get as much right in camera as possible, so I can reduce the amount of time needed in front of the computer 🙂
Be careful of the types of lighting you have available in your scene. If you are using daylight, but also have the tungsten lights on, both colours of light will be seen in your photos. A nice thing about using studio lights is that you can expose your shot to remove the effect of the ambient lights (daylight & kitchen lights). How do I do this, you might be wondering? Before using your strobe or flash unit, dial in camera settings that would make your photo so dark and underexposed that all you would see is a black photo. Once you have underexposed your shot enough to remove all of the ambient light, you then add enough light from the strobes to properly expose your photo. I found this concept mind blowing when I took my first studio lighting course! Check out Mark Wallace‘s video on eliminating ambient light if you would like more information about this cool concept.
If it is a really bright day and you have many windows in the room, there may be too much light in the room for you to obtain a completely dark photo. This is especially the case if your strobes are like mine, and are not capable of high speed sync (a topic for another day). This means that I can’t usually go faster than 1/200 of a second. In this case, you can always add a neutral density filter to reduce the amount of light entering the lens, thus allowing you to achieve camera settings which remove the ambient light.
Depth of Field
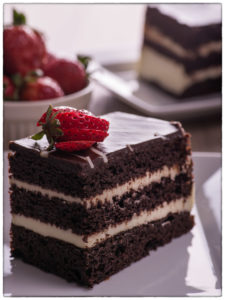
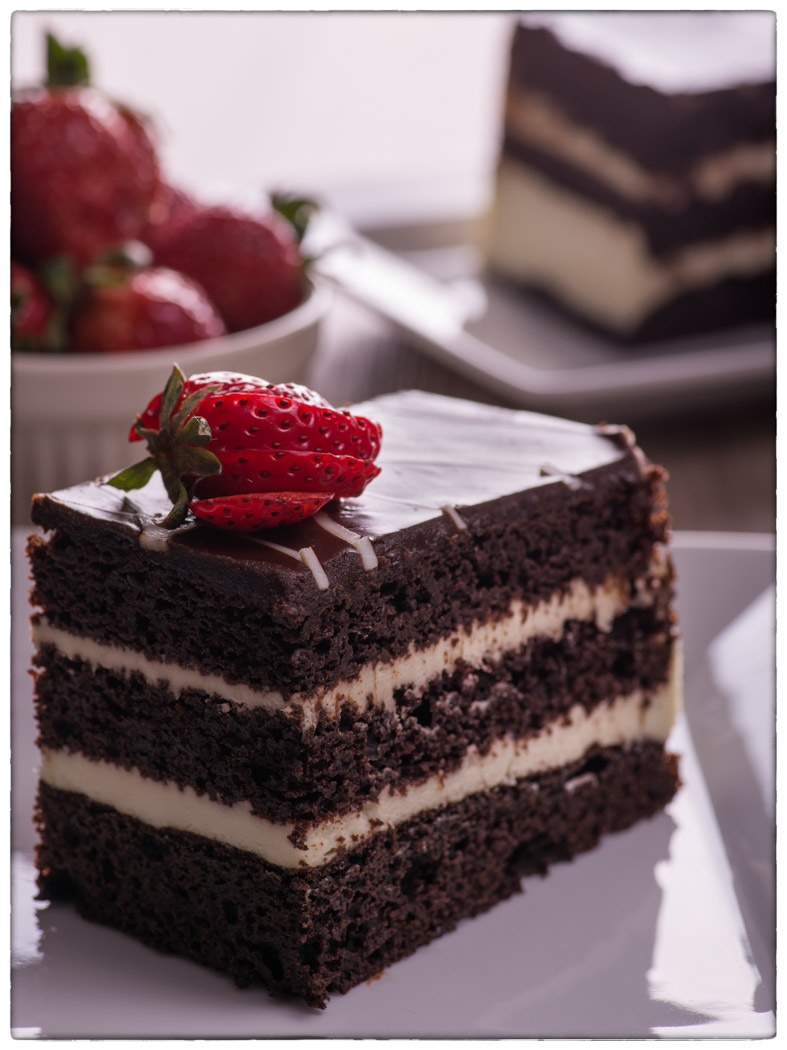
A shallow depth of field can really help draw attention to your main subject, or even particular areas of the subject. For example, in the photo below, the slice of cake in the front is in focus while the strawberries and the slice of cake in the back of the photo are not. This puts the main focus on the front slice of cake.
Props
A few simple props can enhance the photo. For example, a red-checkered hand towel might add a little bit of colour to the photo. Ingredients, such as a bowl of strawberries, utensils, cooking equipment, etc. might be appropriate to add into your photo. Just ensure you haven’t added so many that they become distracting. Which leads me to the next point – simplicity!
Simplicity
When it comes to food photography, it’s best to keep it simple. Keep a close eye on your background – is it cluttered and messy? Are you photographing on your kitchen counter with your living room in the background, with furniture, lamps, and art making their way into the photo? Choose a background that does not distract you from the main subject. I chose to use the simple white tile backsplash behind our kitchen counters in some of the photos – to me it tells adds to the story and emphasizes the location, which is my kitchen. But is simple enough not to be distracting.
You can also use a simple black or white background. Large pieces of black or white foam core can be found at craft or hardware stores, and make good backgrounds for your still life shots. You can also attach different textures, such as wallpaper to them too.
Studio Lighting
Studio lighting and flash can be intimidating if you haven’t used them before. I highly recommend taking a few studio lighting courses – ones that actually demonstrate the effects of various lighting set ups and walk you through your camera settings. Once you feel comfortable using flash, it opens up quite a few doors in your photographic journey!
These are just a few things to keep in mind next time you photograph food. I hope you enjoy your next still life photography shoot with food, and get to taste it afterwards 😉
leave a comment