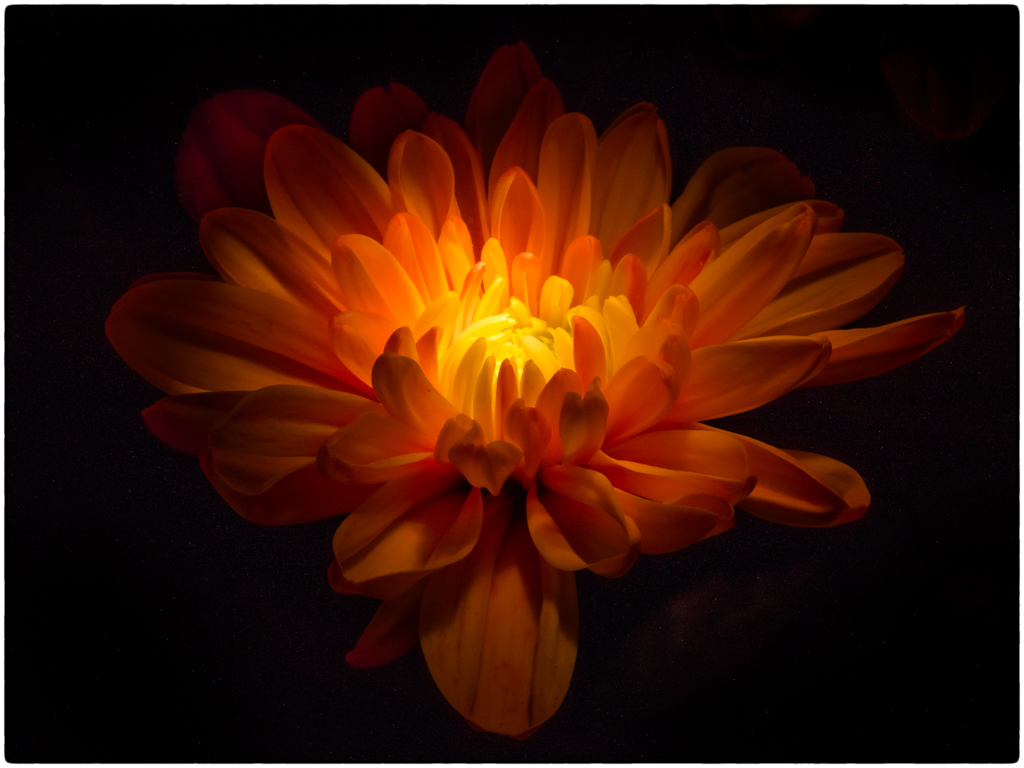
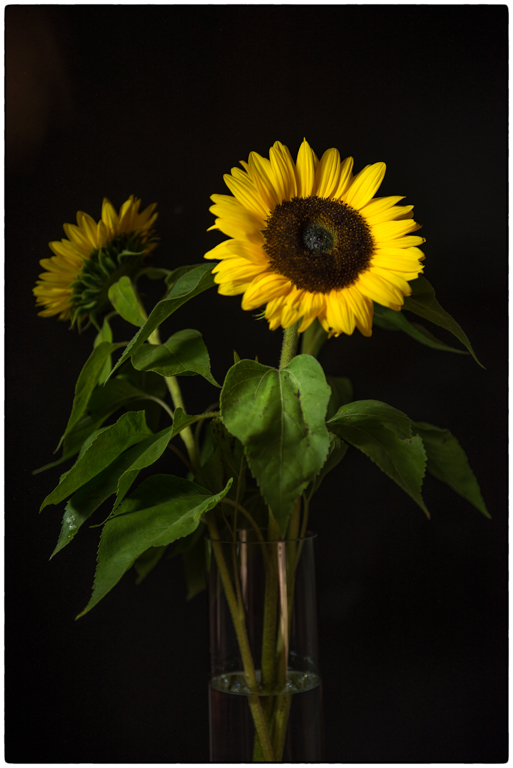
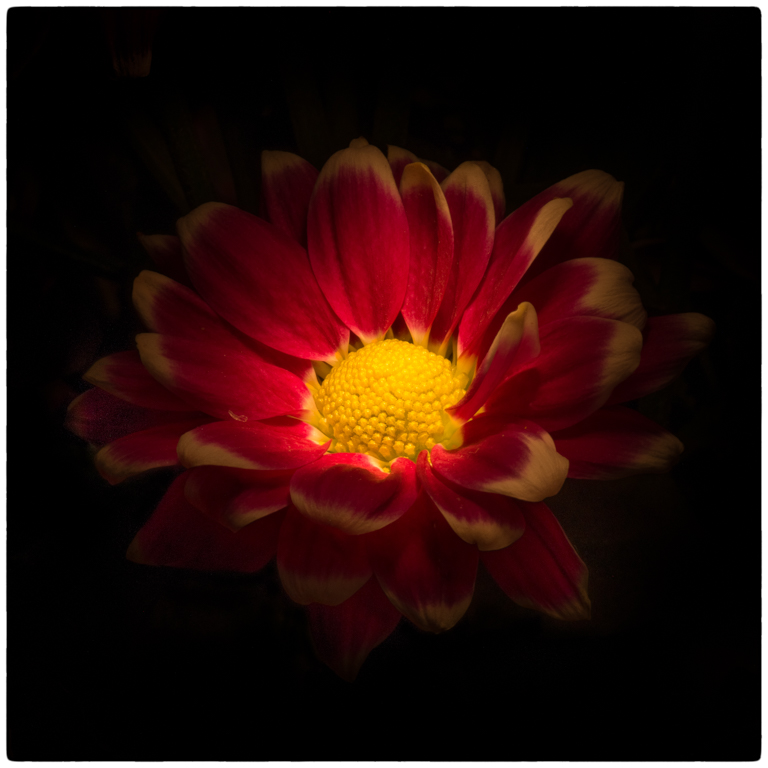
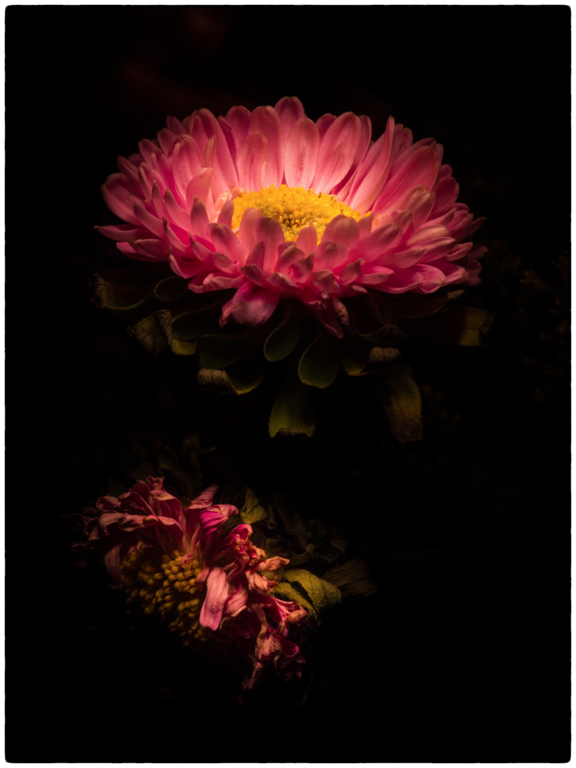
My photography topic this week is Painting With Light. I chose this topic for two reasons. The first is that I injured my knee and needed a topic that I could do from home. The second reason is that painting with light is a lot of fun! It’s a neat technique that involves using a flashlight to paint your subject with light. You can create interesting shadows, use coloured gels to introduce different colours, and highlight specific parts of your subject using your flashlight.
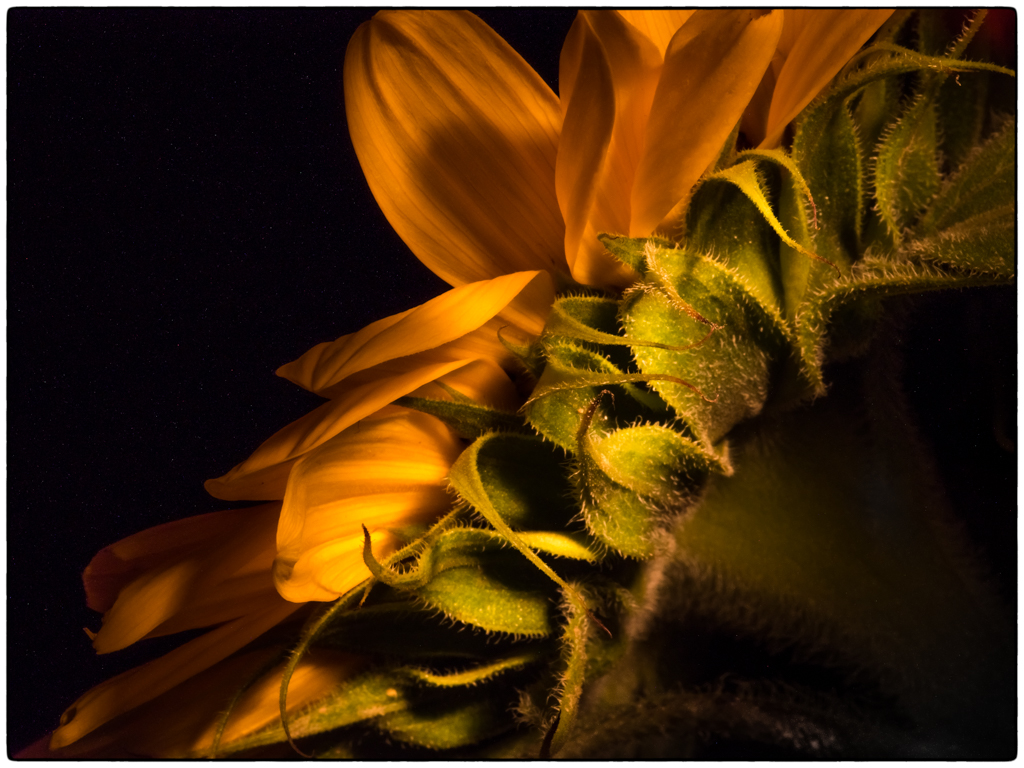
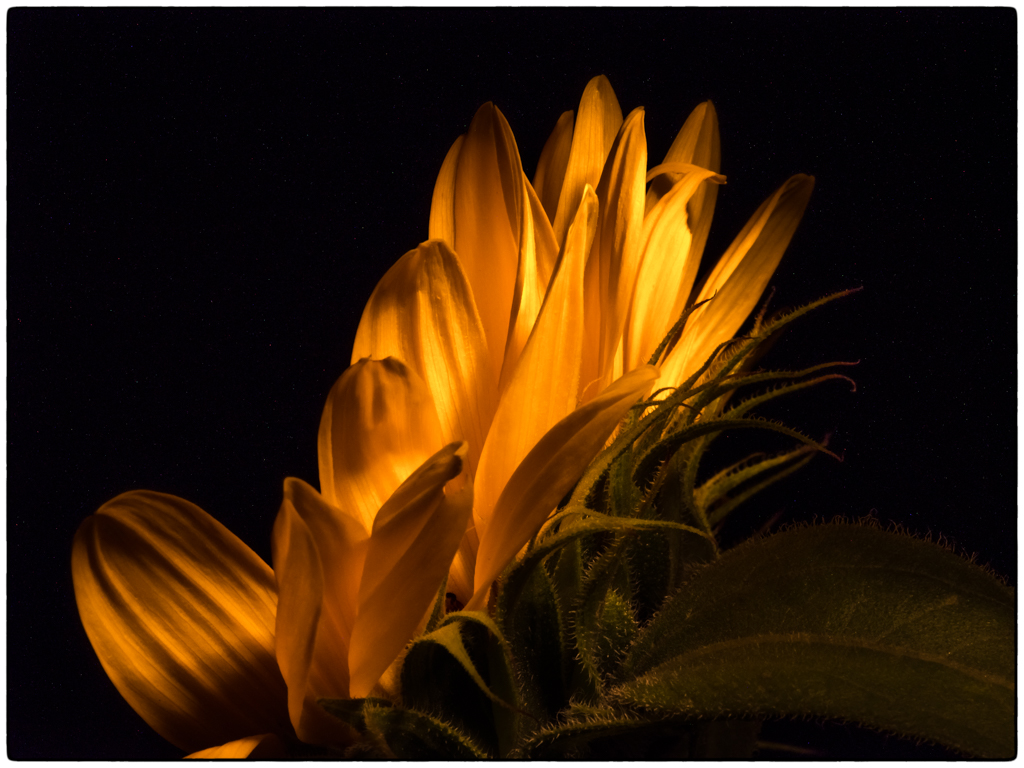
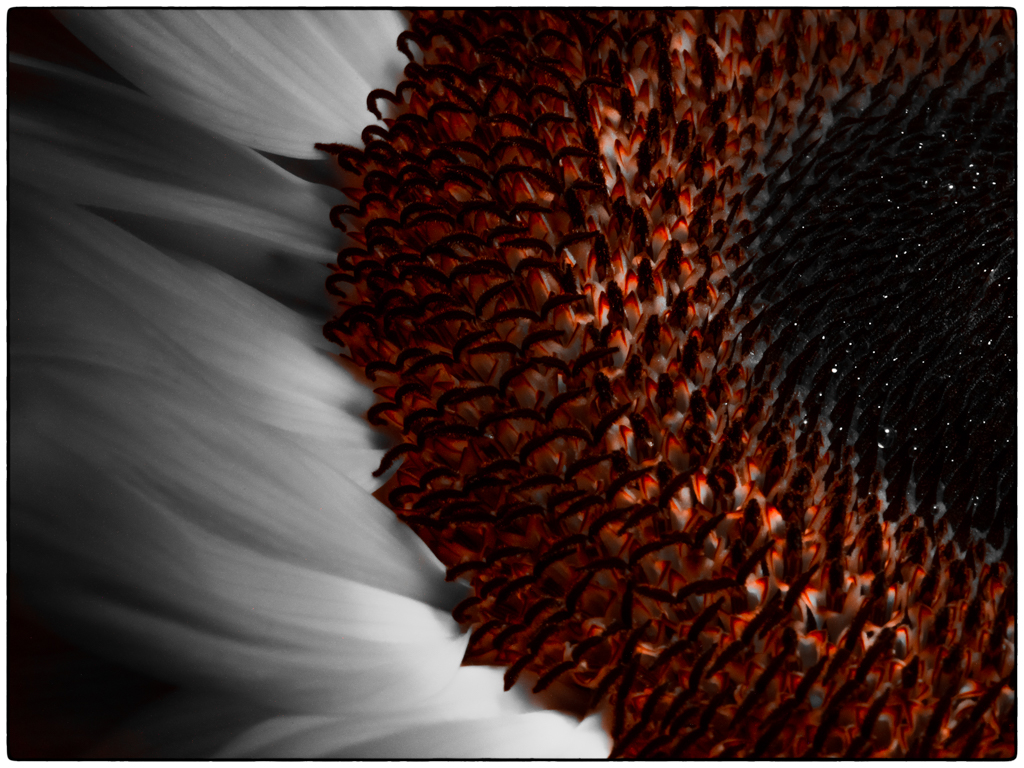
I have included a few of my favourites below:
Some tips from this week’s photo shoot:
Gear
Below is a list of some of the gear that will come in handy when painting with light:
- Tripod: essential to avoid camera shake & blurry photos when using slow shutter speeds. It also enables you to set the focus once and then leave the camera while you play with the lighting in a series of shots.
- A remote trigger: enables you to take the shot without touching the camera. This can help prevent camera blur and also means you can take the shot once you are standing in the right spot to start painting with light.
- A flashlight: used to paint your subject with light. I prefer small penlights with a warmer temperature of light, but you can also use larger flashlights or flashlights with cooler temperatures. The smaller penlights enable you to be more selective with where the light hits the subject. I often find that some of the light from larger flashlights spills over into areas I don’t want showing up in my photos (e.g. the rest of the bouquet when I really just want one or two flowers to show up against a dark background).
- Gels: Gels are coloured pieces of plastic you can put in front of your flashlight to change the colour of the light. You can buy them from a camera store or create your own by picking up transparent, coloured wrapping papers from the dollar store.
- Neutral density (ND) filter: a dark piece of glass that you can attach to the front of your lens to reduce the amount of light entering your camera. I used a 10 stop neutral density filter for some of my photos because I was taking my photos in a room which had windows and was still allowing some ambient light into the room. The ND filter removes the ambient light while still allowing you to use a long shutter speed. ND filters come in different “stops” – the higher the stop, the darker the glass and the less light that will be allowed to enter the camera.
- A dark room: if you don’t have an ND filter, and don’t want to wait until the sun goes down, you can do your painting with light in a room which has no ambient light. Bathrooms, walk in closets, and garages (with the windows covered) are great spots to set up your photo shoot.
Shutter Speed
Painting your subject with light takes time, anywhere from a few seconds to 3o seconds or more. Using a long shutter speed will give you enough time to paint your subject with light. The shutter speed you choose will depend on a few factors:
- The amount of ambient light in the room: If you do not have a neutral density filter and have ambient light entering the room you will be limited in how slow you can set your shutter speed. Too slow and some of the ambient light will also show up in the photograph.
- The ISO: I suggest using the lowest ISO possible so that you can use a slow shutter speed and reduce the amount of noise in your photograph.
- Your aperture: if you are shooting macro shots then your aperture will also be a factor when deciding your settings (to create a certain depth of field). Otherwise, you can set it after you have set your preferred shutter speed and ISO.
- Whether you are using a neutral density filter. As I mentioned above, it can allow you to lengthen your shutter speed quite significantly.
Light
Your method of shining the flashlight will affect the light on the subject. Feathering the light (erratically waving it around so that it does not sit in one place and has more of a flicker effect) can provide a softer look to the light on your subject. Shining the light in one spot for a longer period of time will highlight that area and be brighter than if you had feathered the light. I enjoy using the flashlight to highlight certain parts of the flower to draw the viewer’s eye – I will leave the light on those areas longer than the rest of the subject.
Have fun painting with light!
leave a comment