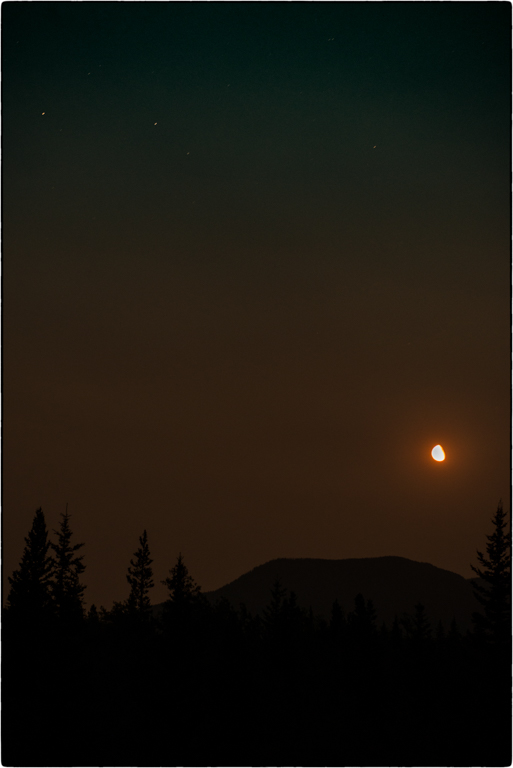
The topic this week was Astrophotography. I chose this topic because I recently attended a night photography course with Meetup Group Explore.Capture.Repeat. It happened to fall on a night where the Perseid Meteor Shower was occurring so I had the pleasure of seeing a meteor shower for the first time. Unfortunately the smoke from nearby forest fires obscured most of it, but I did see a few shooting stars 🙂 Also, the smoke created a disturbing orange glow to the moon later that night which was fun to photograph.
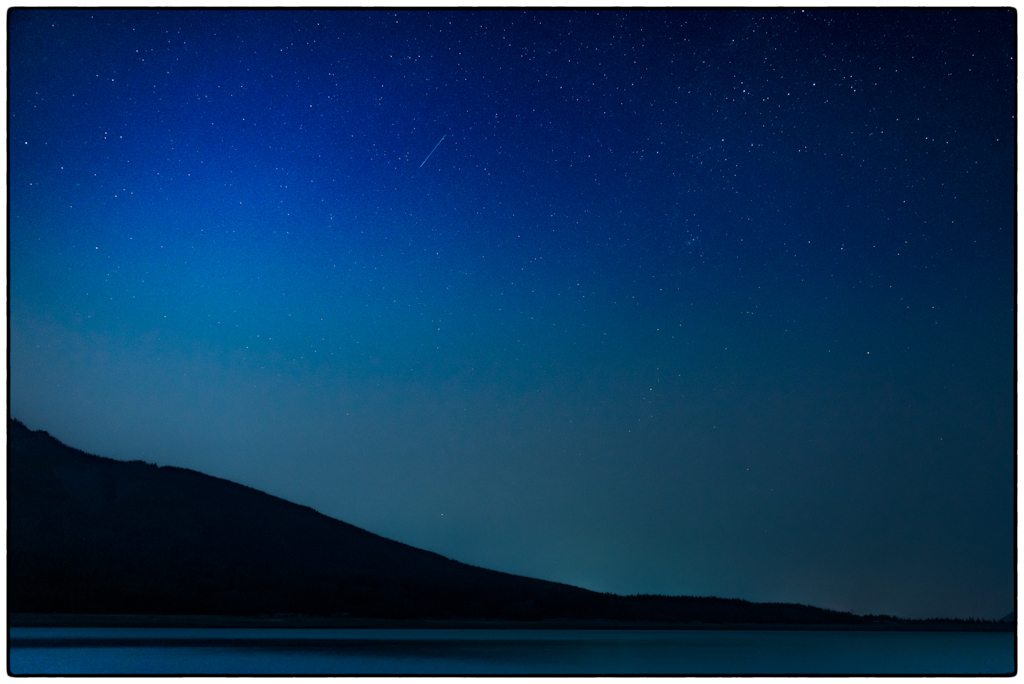
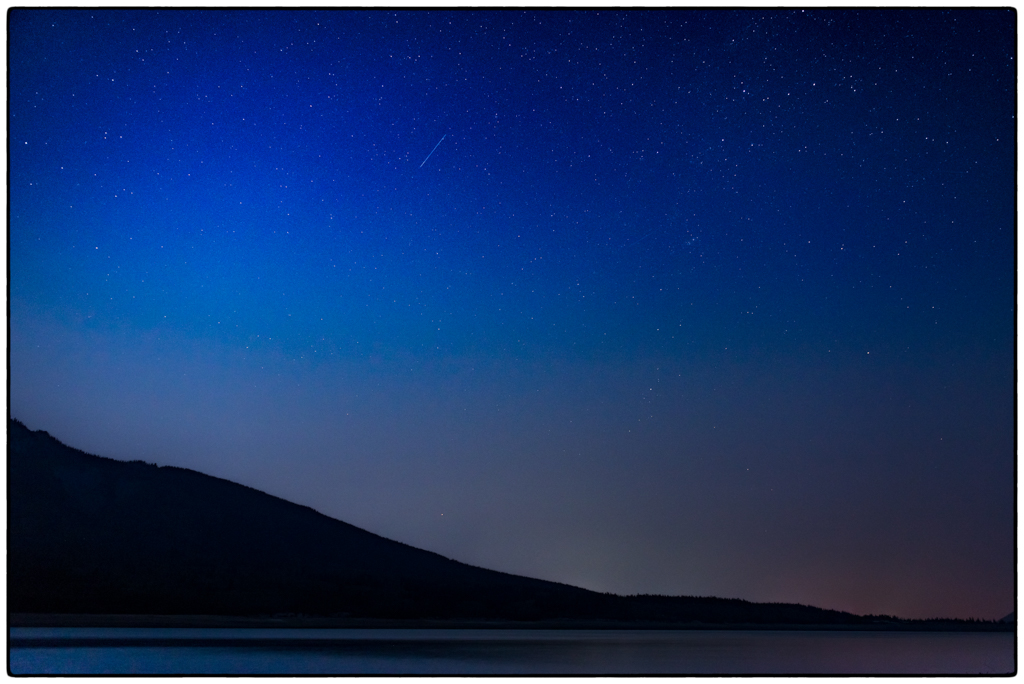
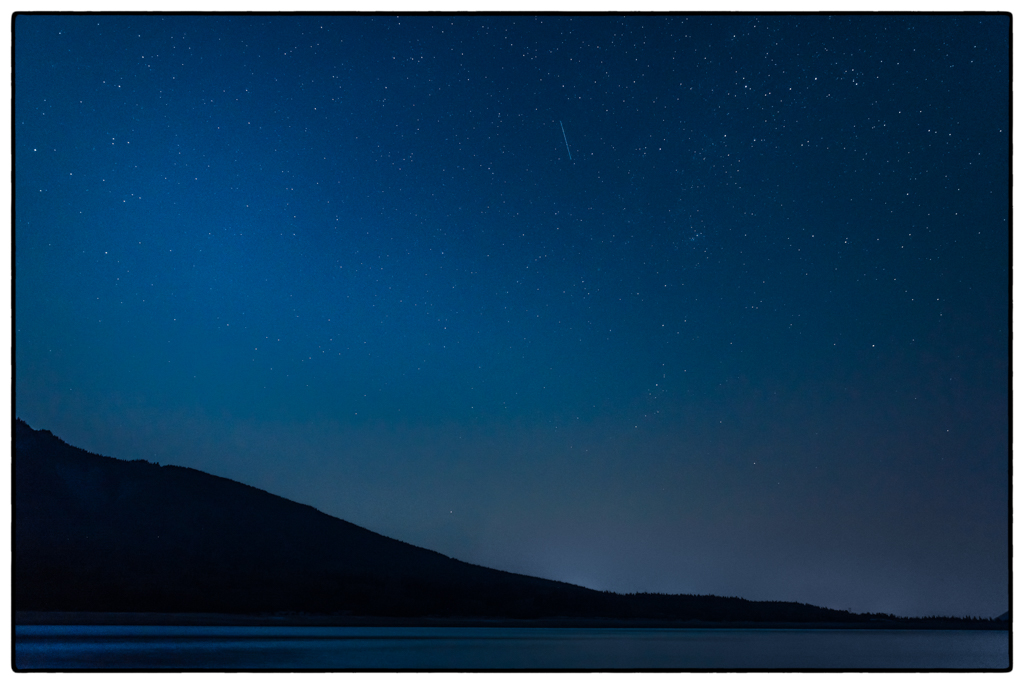
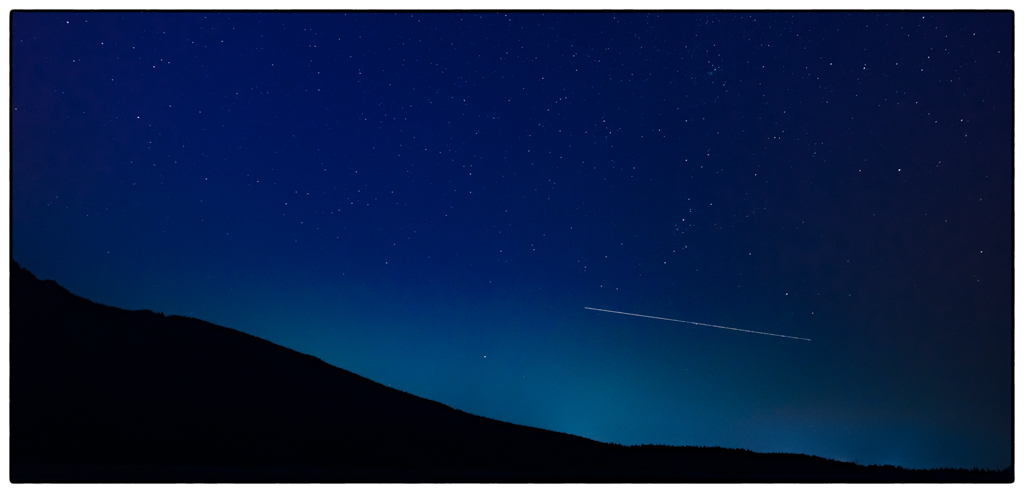
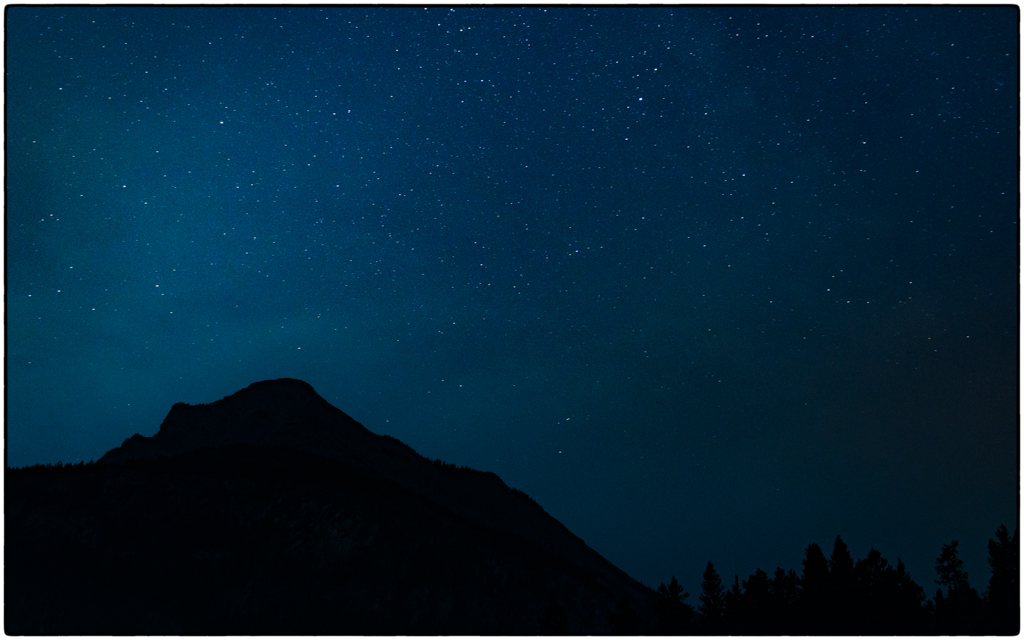
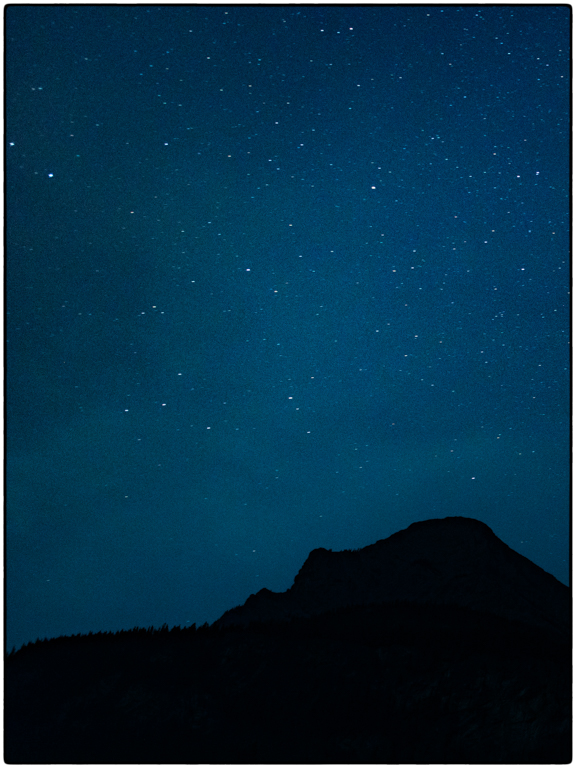
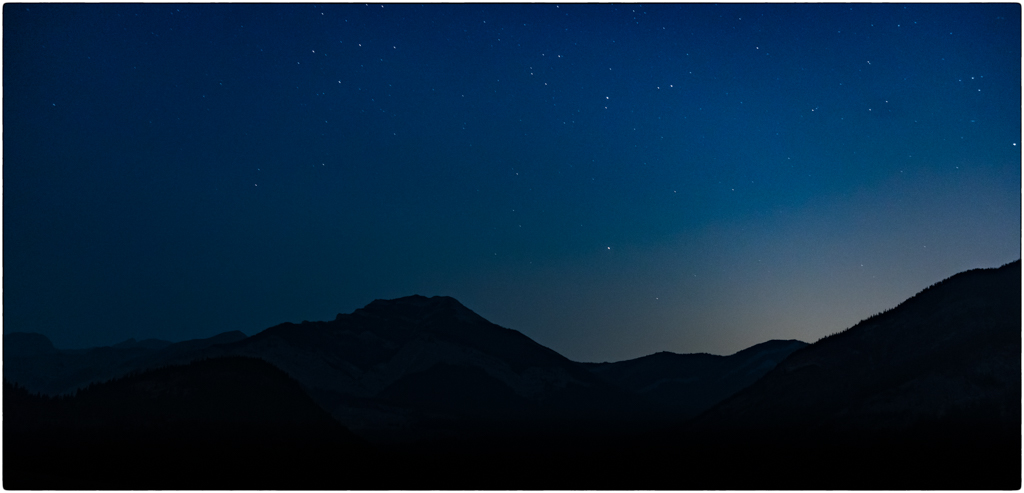
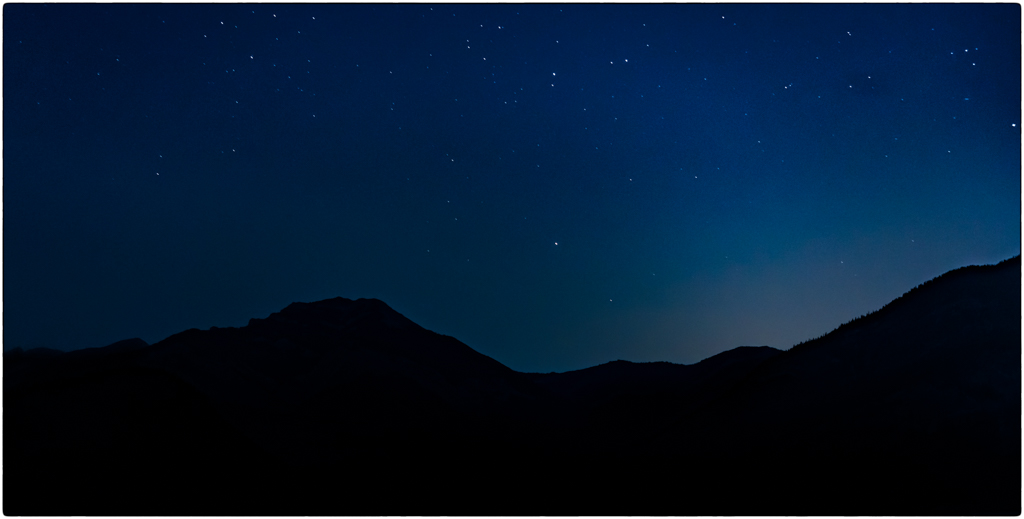
Here are a few of my favourite shots:
Here are a few tips from this week’s photo shoot:
Gear
Some of the gear that is useful for astrophotography includes the following:
- Wide angle lens: wider lenses, typically 24 mm or less for a full frame camera, allow you capture more of the scene and the starry sky.
- Tripod: essential to prevent camera shake and unwanted blur in your photographs. Star photography requires long shutter speeds, so you will need a tripod to keep the camera steady.
- Remote shutter release: allows you to take your shots without touching the camera. Even touching the camera’s shutter button gently can be enough to introduce blur in your photograph.
- Head lamp: hands-free light you can use to shine on your camera while you are changing your settings. It can also be useful to shine on subjects in your foreground while you are setting your focus.
- A camp chair to relax in while you are taking your shots. You can set your camera to take a number of the shots itself. In this case we all set our cameras to take shots for 30-40 minutes and then we just relaxed while our cameras were doing their job. This is a great technique for trying to capture shooting stars.
- Snacks and hot drinks are always welcome too since your photo shoot will take a few hours. I’m also not much of night owl, so some caffeine can come in handy 🙂
- Warm clothes and shoes: it can get quite chilly at night in the mountains, and you will not be moving around much. Warm clothes will make the shoot much more comfortable. Hand & foot warmers might be appreciated later too.
Camera Settings
Settings can vary a bit depending on your location, time of night, and presence/absence of the moon. The settings our instructor, Kristen Repshner, recommended for this photo shoot were:
- Aperture: f/2.8 to let as much light into the camera as possible.
- Shutter speed: 20 – 30 seconds. Too long and the stars move too much (become small dashes rather than round stars).
- ISO: 400 for the moon shots and 800-3200 for the star shots before the moon had risen. Usually a higher ISO is needed (e.g. 3200) for star photography; however, the smoke in the air allowed a lower ISO than normal since it reflected some of the light in the atmosphere.
- White balance: varies depending on the colour you are looking for in the sky. Forest fire smoke lends an orange-red cast to the moon, sun and sky. A daylight white balance can emphasize the orange, sinister mood of the smoky moon even further.
Location
Our instructor chose a great location at Barrier Lake in Kananaskis, which gave us beautiful mountains to use in the foreground of our shot. Choosing a location with a great foreground will really enhance your photographs and make them more interesting.
More Information
For more information on astrophotography, check out Kristen’s book or try one of her many night photography classes!
Have fun shooting the stars!

leave a comment