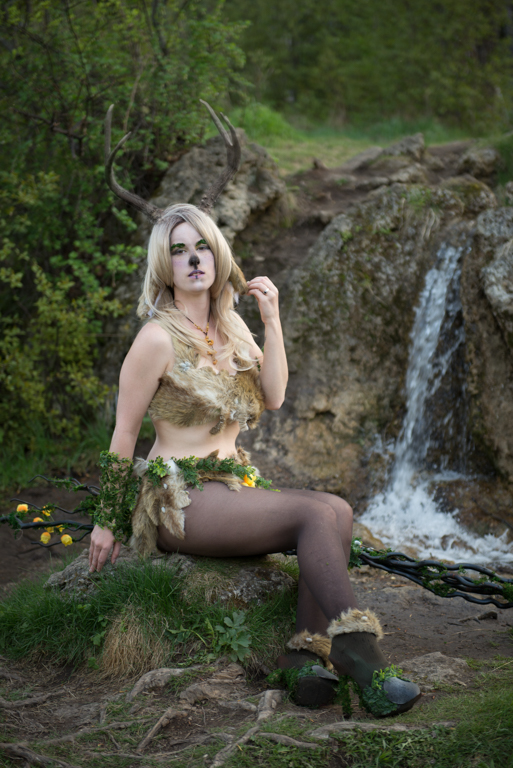
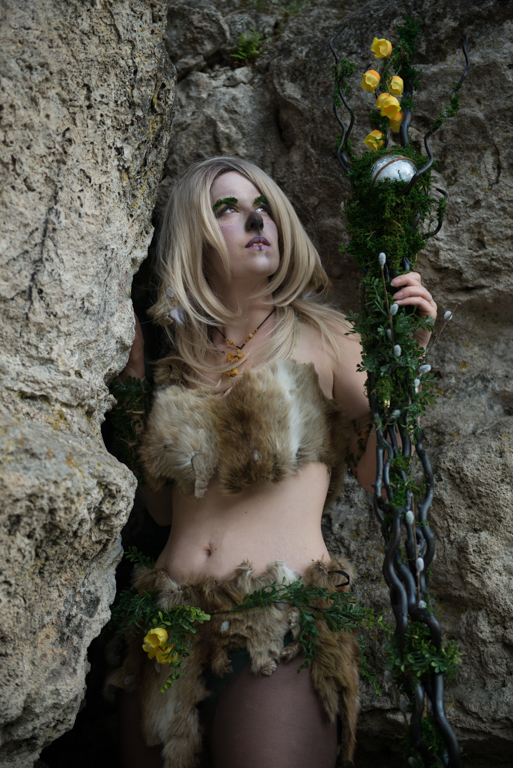
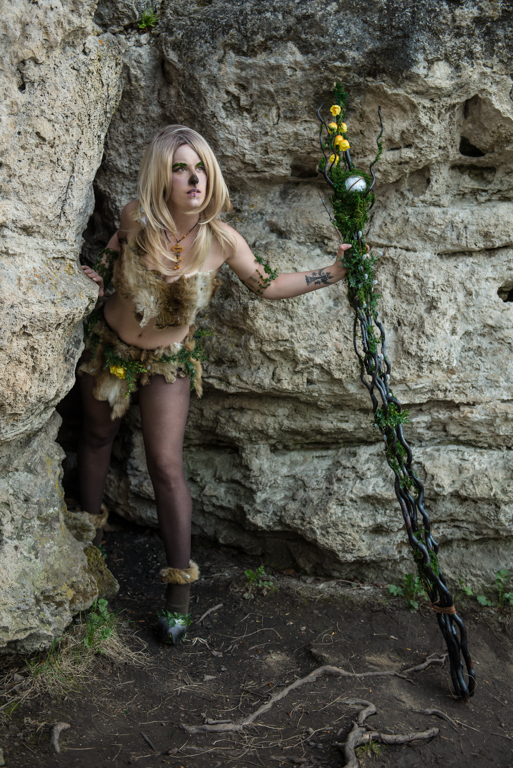
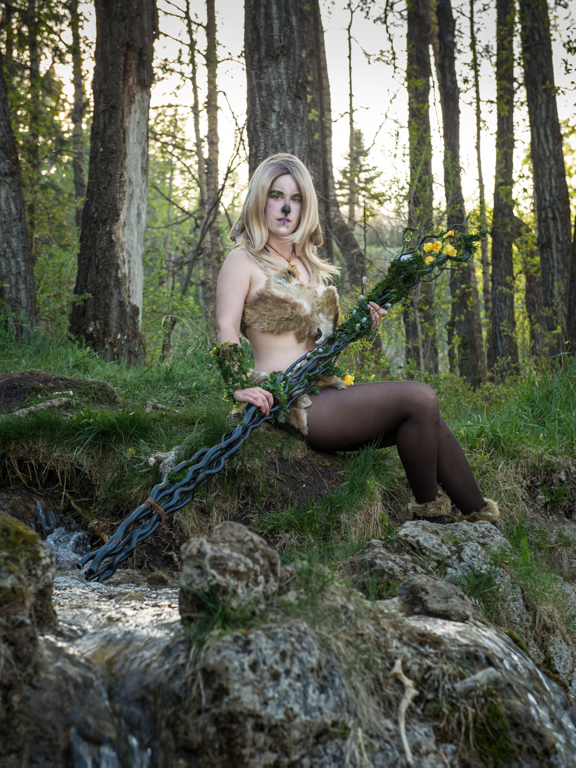
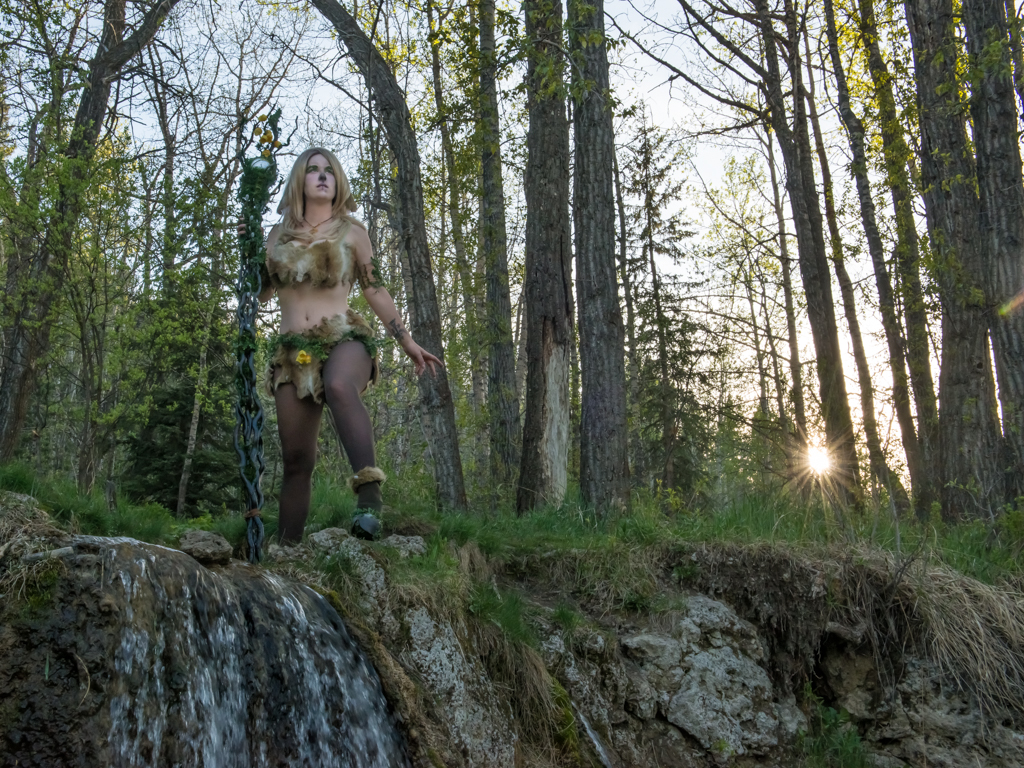
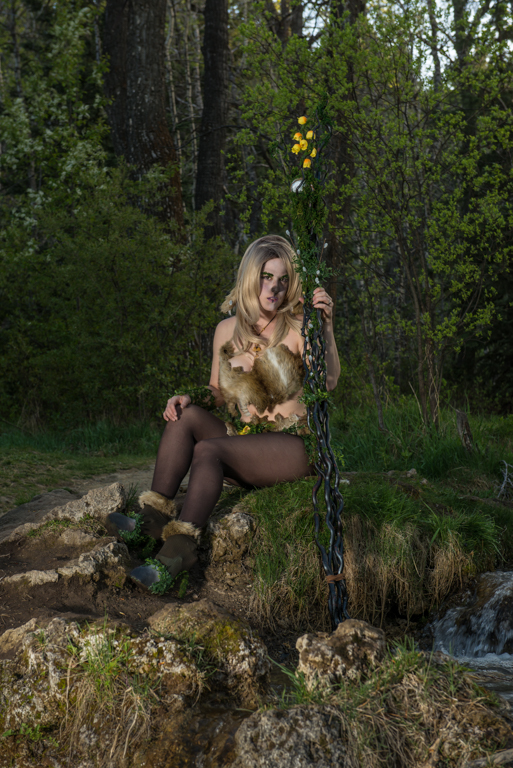
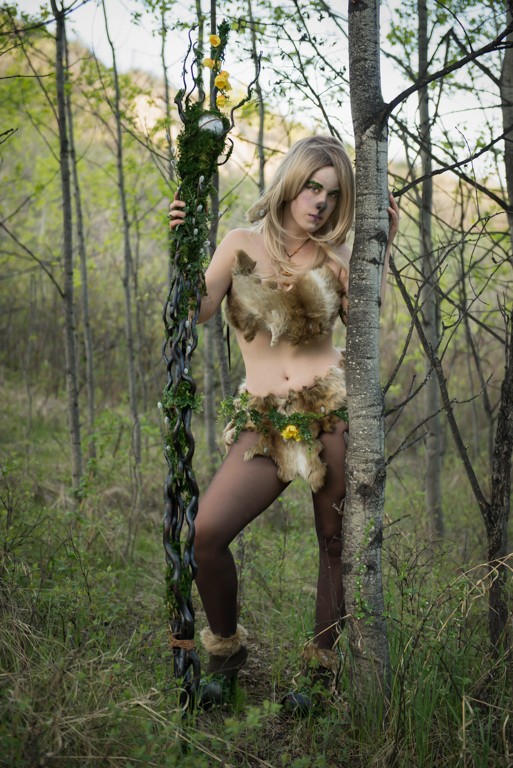
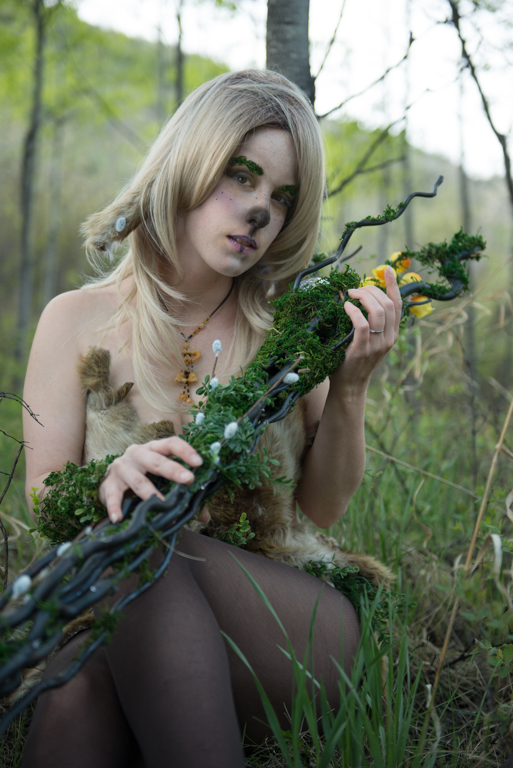
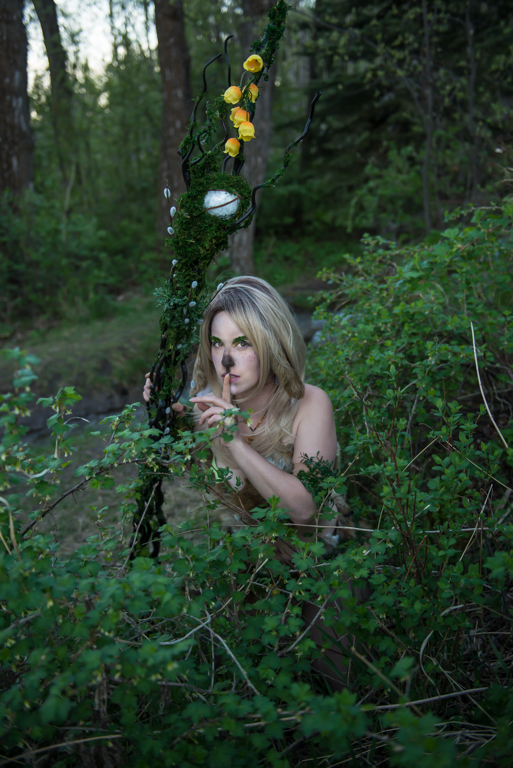
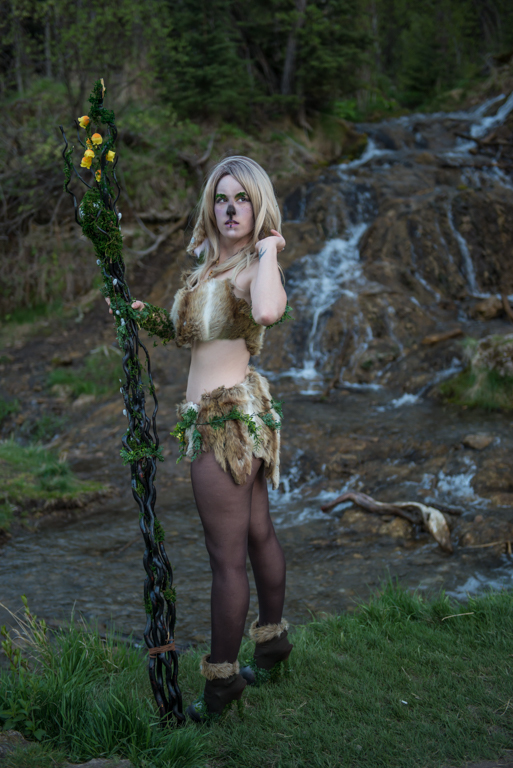
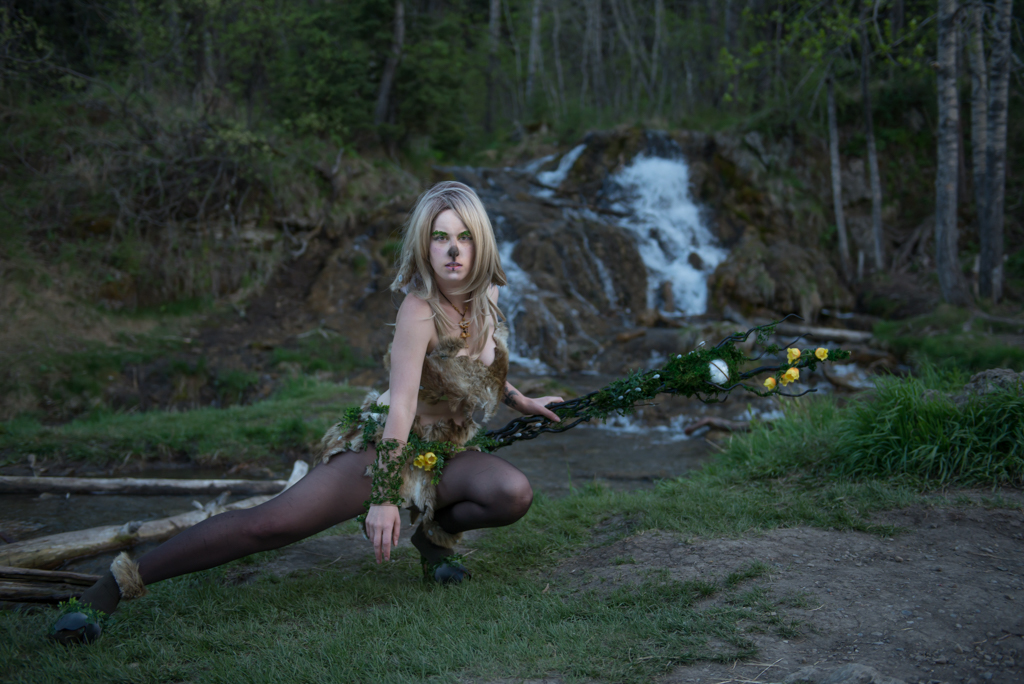
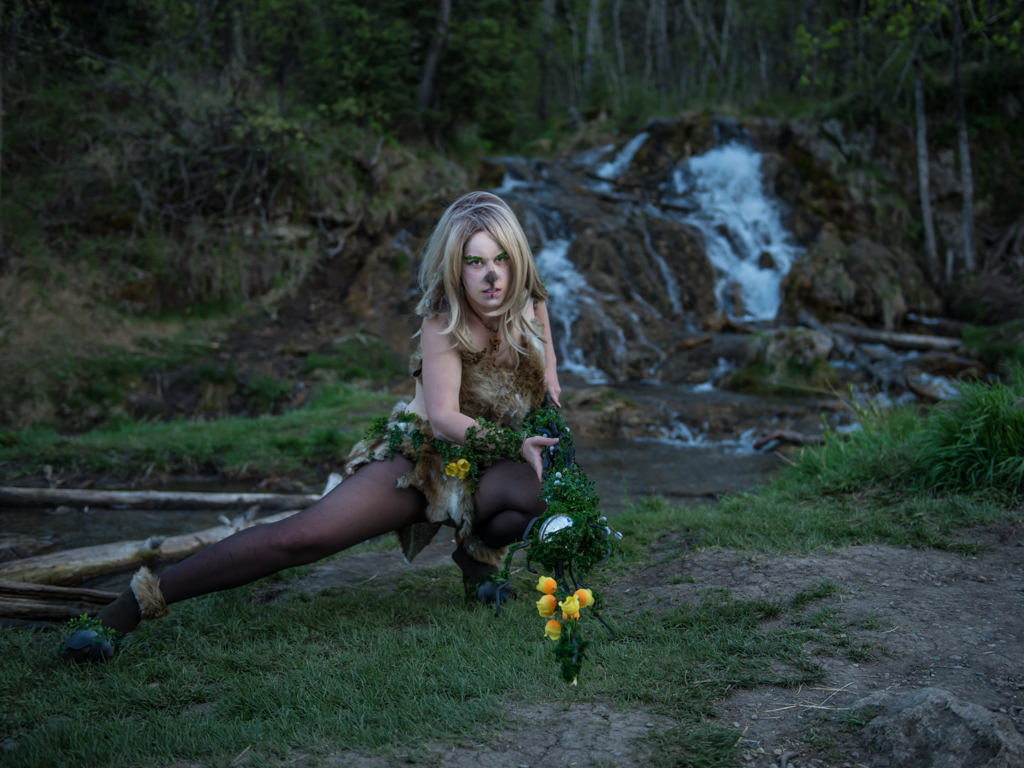
The photo challenge this week was Magical. I chose this topic because I recently had an opportunity to take pictures of a beautiful cosplay model, Winter, from Winterlights Cosplay. Winter approached me about setting up a photo shoot after I sent her a photo I had taken of her during the Calgary Expo. I jumped at the chance to work with her and I’m so glad I did – we had a blast with our photo shoot!
We held our photo shoot at Big Hill Springs Provincial Park since Winter’s next costume was a forest faun. The waterfalls and greenery provided a perfect backdrop. We ran into a problem with her antlers (they wouldn’t stay on her head), so we ending up doing the photo shoot without them. I later added antlers to her head using Photoshop. It was very time consuming, so she only has antlers in one of the photos (for now)…
Below are some of my favourites:
A few tips from this week’s photo shoot:
Scouting the Location
I recommend scouting your photo shoot location if you have time. I scouted the park a week prior to our photo shoot to check on lighting and park conditions. The park was quite busy during the day so we planned our shoot for early evening. If we had gone during the peak busy time we would have had park users ending up in most of our photos. Not to mention more of an audience lol.
Going later in the evening also had the advantage of providing softer lighting, rather than the harsh lighting you can often get from about 10 am – 4 pm during a sunny day.
Scouting the park also gave me an idea of which areas would provide the best background for the photos.
Natural Lighting
I used primarily natural lighting during this photoshoot (using the sun rather than artificial lighting). Natural lighting was the easiest to use and gave a nice natural look to the photos. I used a reflector later in the evening when there was less light, especially in the trees and when Winter was facing away from the sun. The reflector helped banish the shadows on her face, especially under the eyes.
Reasonably priced reflectors can be found on Amazon. Mine came with a stand, which was quite handy since I didn’t have an assistant to hold it for me!
Speedlighting
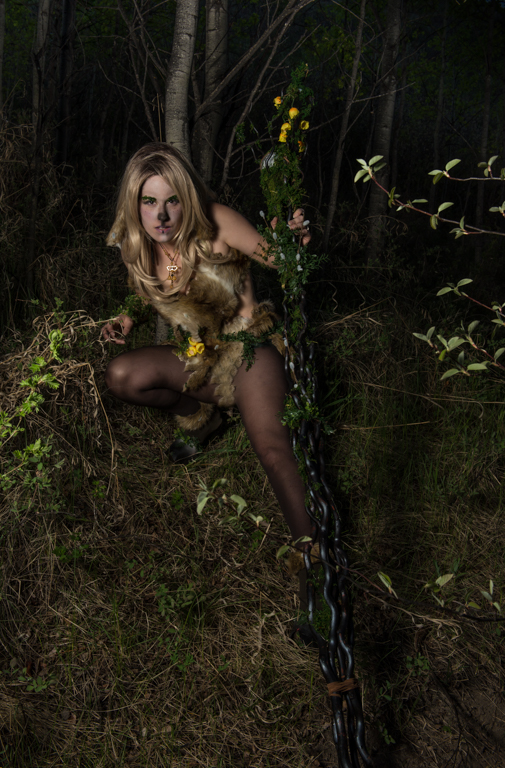
I also tried using my speedlite flash for a few of the photos. It created a darker, moodier look in the forest. I’ve included a few of the flash photos below so you can see what they look like.
I picked up a portable softbox and speedlite bracket from StrobePro, one of the local lighting stores in Calgary. This was my second time using the softbox kit, and so far I quite like it. It was really easy to set up and softens the light from my speedlite well. Just using a flash on the camera would have been far too harsh, and would have created unpleasant shadows. Getting the flash off the camera is essential. I still have a lot to learn with flash, but I’m glad I tried it out since it came in quite handy when it got dark.
I will say – if you are new to flash make sure you have patience with it! It can be difficult to use initially, and you may need to do a lot of troubleshooting when things are not functioning properly. Definitely bring extra batteries, as they get low fast when using AA batteries. A good rule of thumb from Michigan Technical University is to change the batteries if it takes longer than 20 seconds for the flash to recharge. Which leads me to my next suggestion – make sure you give your flash unit enough time to recharge after each photo. I turned on the feature on the speedlite which causes it to beep when it is ready to fire again, and that made it easier to know when it was ready to be used again.
I would also recommend some basic flash photography courses if you are new to flash. Lynda.com has some online, and it also really helpful to take a few classes where they demo various set ups in front of you. The Camera Store and Strobe Pro both have excellent introductory flash courses.
Editing
I’m not going to go into my full workflow here, but I did want to mention that I used Photoshop to add in antlers in one of the photos. I took a photo of a deer from Morgue Files (free) and used compositing in photoshop to add the antlers from the deer onto Winter’s head. This technique reminded me of my time painting with acrylic paint – I basically painted the antlers from the deer photo into the photo with Winter. Only the antlers from the deer photo showed up in my photo of Winter. Cool technique!
Have fun!


leave a comment